
Introduction
When it comes to creating beautifully textured prints that resemble real wood, mastering your 3D print wood settings is essential. PLA fiber filaments—especially wood-filled variants—open up creative opportunities for designers, hobbyists, and professionals who want natural, organic aesthetics straight off the printer bed. Yet, to achieve smooth, realistic surfaces, you need more than just good material; you need to fine-tune every aspect of your printer’s performance. This guide explores the top print settings that transform ordinary prints into stunning examples of wood 3D printing.
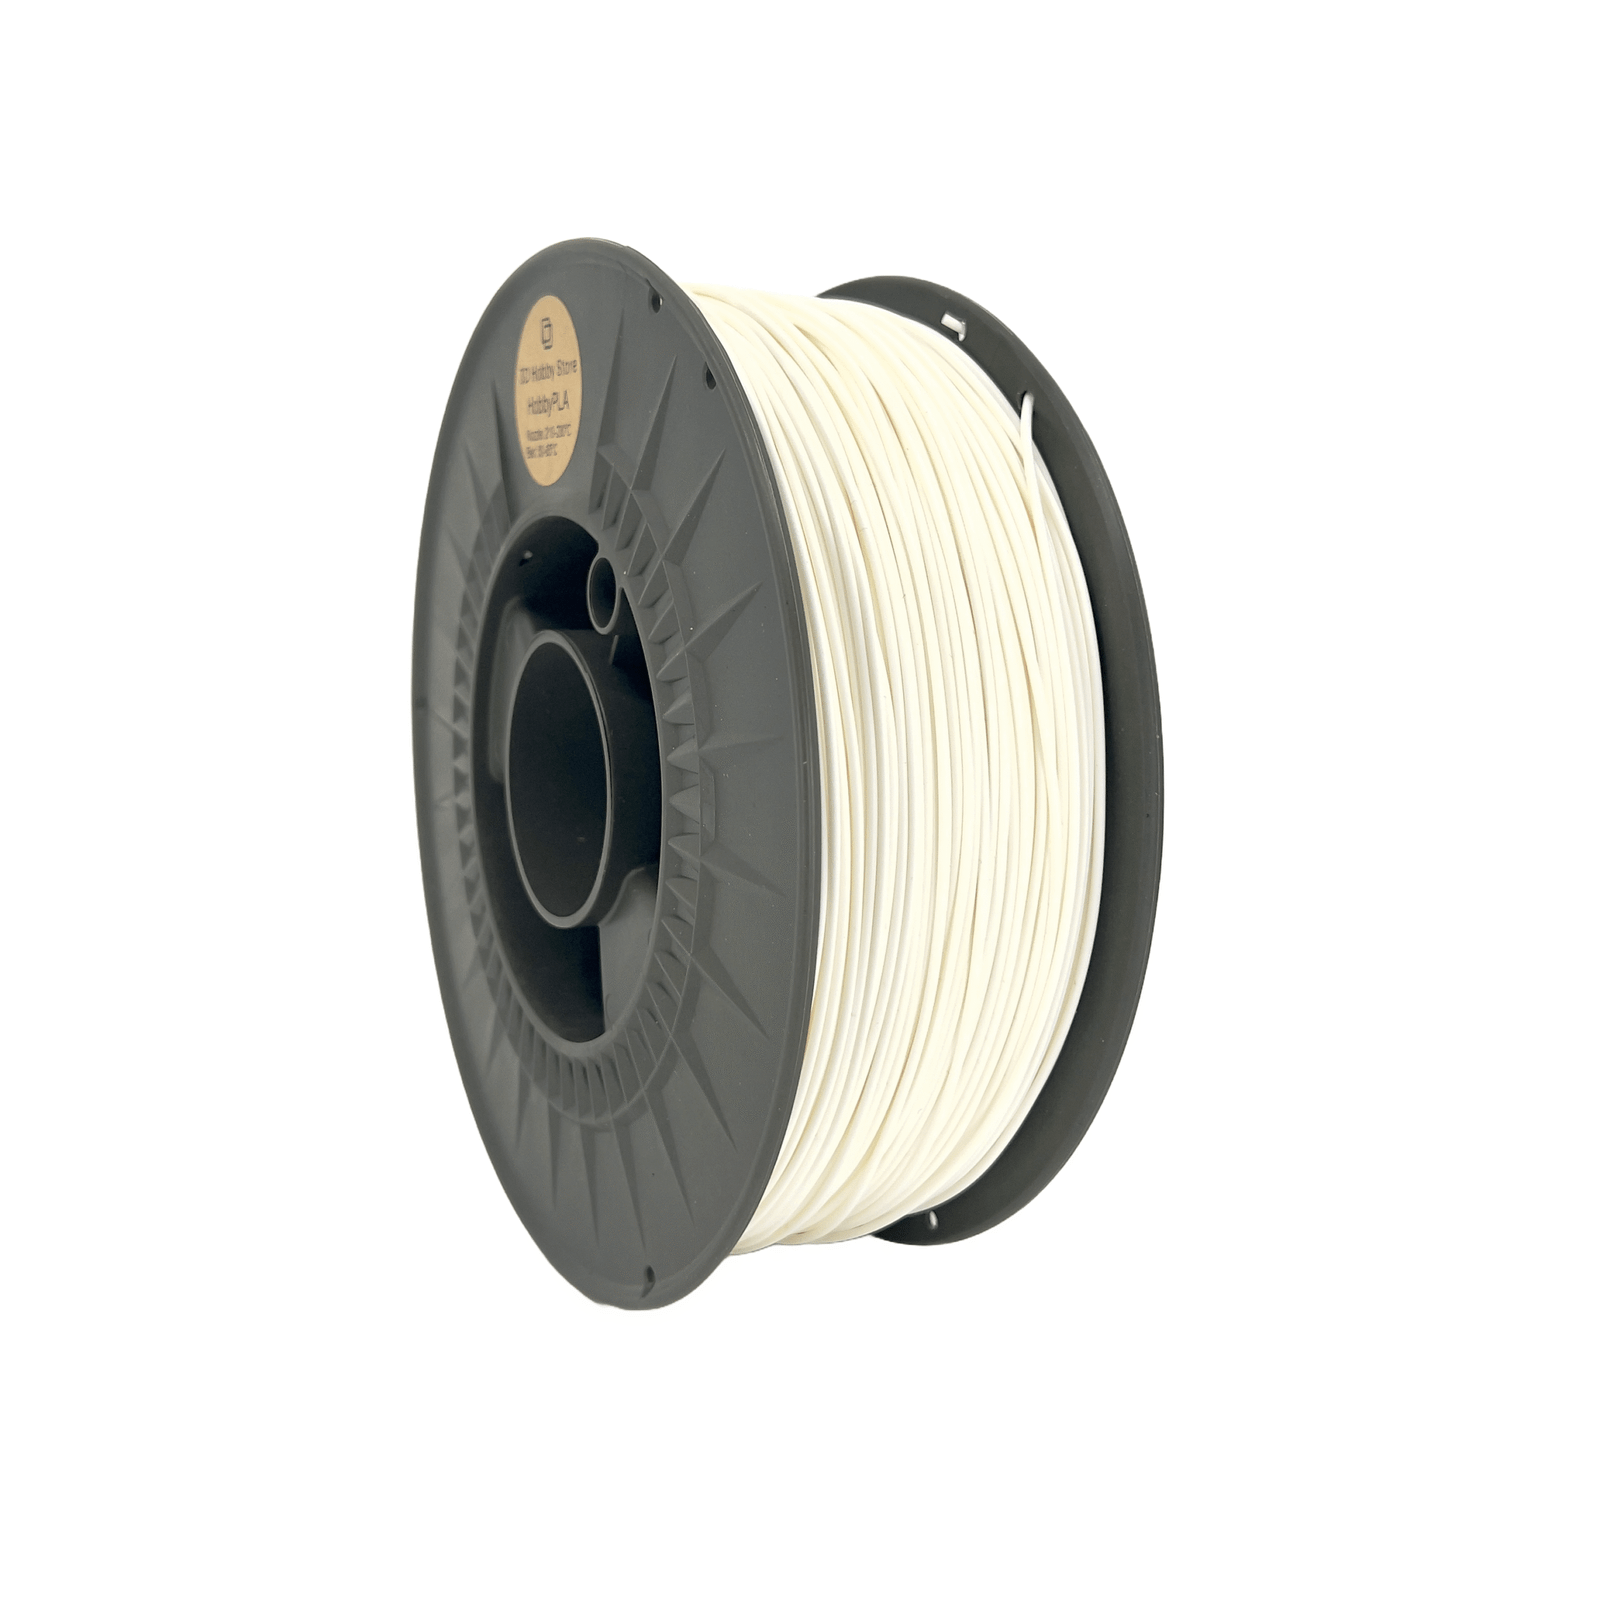
What Is PLA Fiber Filament?
Definition and Composition
PLA fiber filament is a composite material made by blending standard PLA (Polylactic Acid) with natural fibers like wood, cork, or even metal. The inclusion of these fibers gives the filament a unique, tactile surface and subtle color variations that mimic organic materials. For 3D printing wood, the fibers are often finely ground to ensure smooth extrusion and a consistent finish.
Unique Properties vs Standard PLA
Unlike standard PLA, fiber-filled PLA offers a matte, grain-like appearance and slightly rougher texture. This makes it ideal for artistic projects, architectural models, and custom home décor prints. However, because of the added fiber content, it behaves differently in the extruder—it requires lower temperatures and careful tuning of print speed and cooling. These subtle adjustments can make or break the look of your 3D print wood project.
Importance of Proper Settings
The beauty of wood 3D printing lies in balance. Too much heat or speed, and the fibers may burn or clump; too little, and layer adhesion suffers. Dialing in the right combination ensures that every print layer blends smoothly into the next, producing a finish that feels truly natural.
Hardware & Printer Requirements for Natural Finishes
Hotend & Nozzle
Fiber-filled filaments can be slightly abrasive. Using a hardened steel nozzle, preferably 0.5 mm or larger, is recommended to prevent clogging. Smaller nozzles may trap fibers, leading to inconsistent extrusion—something that can quickly ruin a 3D printing wood surface.
Build Platform & Bed
Use a heated bed set around 50–60 °C with a build surface like PEI or painter’s tape to ensure good adhesion without over-sticking. Proper leveling and bed temperature help create even, blemish-free first layers.
Cooling and Airflow
Cooling plays a major role in achieving smooth finishes. While PLA generally benefits from active cooling, excessive airflow can cause uneven textures in 3D print wood results. Aim for moderate fan speeds (around 40–60%) to maintain the right balance between solidification and adhesion.
Core Print Settings: Achieving the Finish
Nozzle Temperature
Start between 190–210 °C, depending on the filament brand. Higher temperatures increase layer bonding but risk darkening or even burning the wood fibers. Finding the sweet spot is crucial for wood 3D printing that looks natural and even.
Bed Temperature & First Layer
A consistent first layer ensures the rest of your print follows suit. Keep the bed around 55 °C, with a slightly thicker first layer to help with adhesion.
Layer Height & Line Width
For a more natural surface, use a layer height of 0.2–0.25 mm. Thicker layers often enhance the grain texture of 3D printing wood, while thinner layers deliver smoother results.
Print Speed & Acceleration
Slow and steady wins the race. A print speed of 40–60 mm/s provides enough time for the wood fibers to lay evenly, avoiding gaps and visible ridges.
Retraction & Oozing
Since wood-filled PLA can be stringy, retraction settings matter. Start with 1–2 mm retraction at 25 mm/s. Fine-tune this during test prints to reduce blobs or stringing in 3D print wood projects.
Cooling Fan Settings
Balanced cooling ensures clean overhangs and prevents burnt fibers. Adjust your fan speed gradually and monitor color changes during printing.
Shells & Infill
Use three perimeter shells for enhanced strength and surface quality. An infill density of 15–20% works best for lightweight, decorative pieces while maintaining smooth outer walls.
Surface Finish Optimization Techniques
Print Orientation and Placement
The angle of your print significantly affects the surface finish. For 3D printing wood, orient textured sides upward to highlight the natural grain patterns that form during printing.
Over- and Under-Extrusion Control
Fine-tune your flow rate. Over-extrusion can lead to rough, uneven surfaces, while under-extrusion causes gaps. Use small adjustments (1–2%) between test runs.
Build Surface Type
Matte build plates can enhance the natural texture of 3D print wood, while glossy surfaces produce smoother bottom layers. Choose depending on your project’s design intent.
Post-Processing
Light sanding (start with 200-grit sandpaper) brings out the natural feel of fiber filaments. For wood-filled PLA, applying a thin coat of wood stain or clear varnish adds richness and protects the surface from moisture.
Troubleshooting Common Issues
Rough or Grainy Surfaces
If prints feel overly rough, try lowering print temperature slightly or slowing down speed. Check filament storage—moisture can affect the consistency of 3D printing wood.
Clogging
Clogs happen when fibers accumulate in the nozzle. Clean your nozzle regularly and avoid excessive retractions. Switching to a wider nozzle can also reduce buildup.
Weak Layer Adhesion
If layers peel apart, increase temperature by 5–10 °C and reduce fan speed slightly. Good bonding ensures both strength and a uniform finish.
Visible Layer Lines
To minimize banding, ensure your printer frame is rigid and your Z-axis is calibrated. Consistent movement leads to silky, natural lines—perfect for realistic 3D print wood outcomes.
Best Practices & Final Checklist for FilaLab Users
Before each print: dry the filament for a few hours at 45–50 °C to prevent moisture absorption. Inspect the nozzle and clear any residue. Confirm the bed is level and clean. Calibrate flow rate and retraction using small test cubes. During printing: observe color shifts—light browning signals heat that’s too high. Adjust fan speeds to smooth out transitions between layers. After printing: let the print cool before removing it to avoid warping. Finish with gentle sanding or sealing for that authentic wooden touch.
Conclusion
Getting a natural finish with PLA fiber filament is an art that blends material understanding with precise print settings. Whether you’re crafting sculptures, home décor, or custom prototypes, fine-tuning temperature, speed, and cooling can turn standard results into exceptional ones. By mastering these techniques for 3D print wood, 3D printing wood, and wood 3D printing, you’ll consistently achieve professional-quality surfaces that look and feel beautifully organic—just like the real thing.