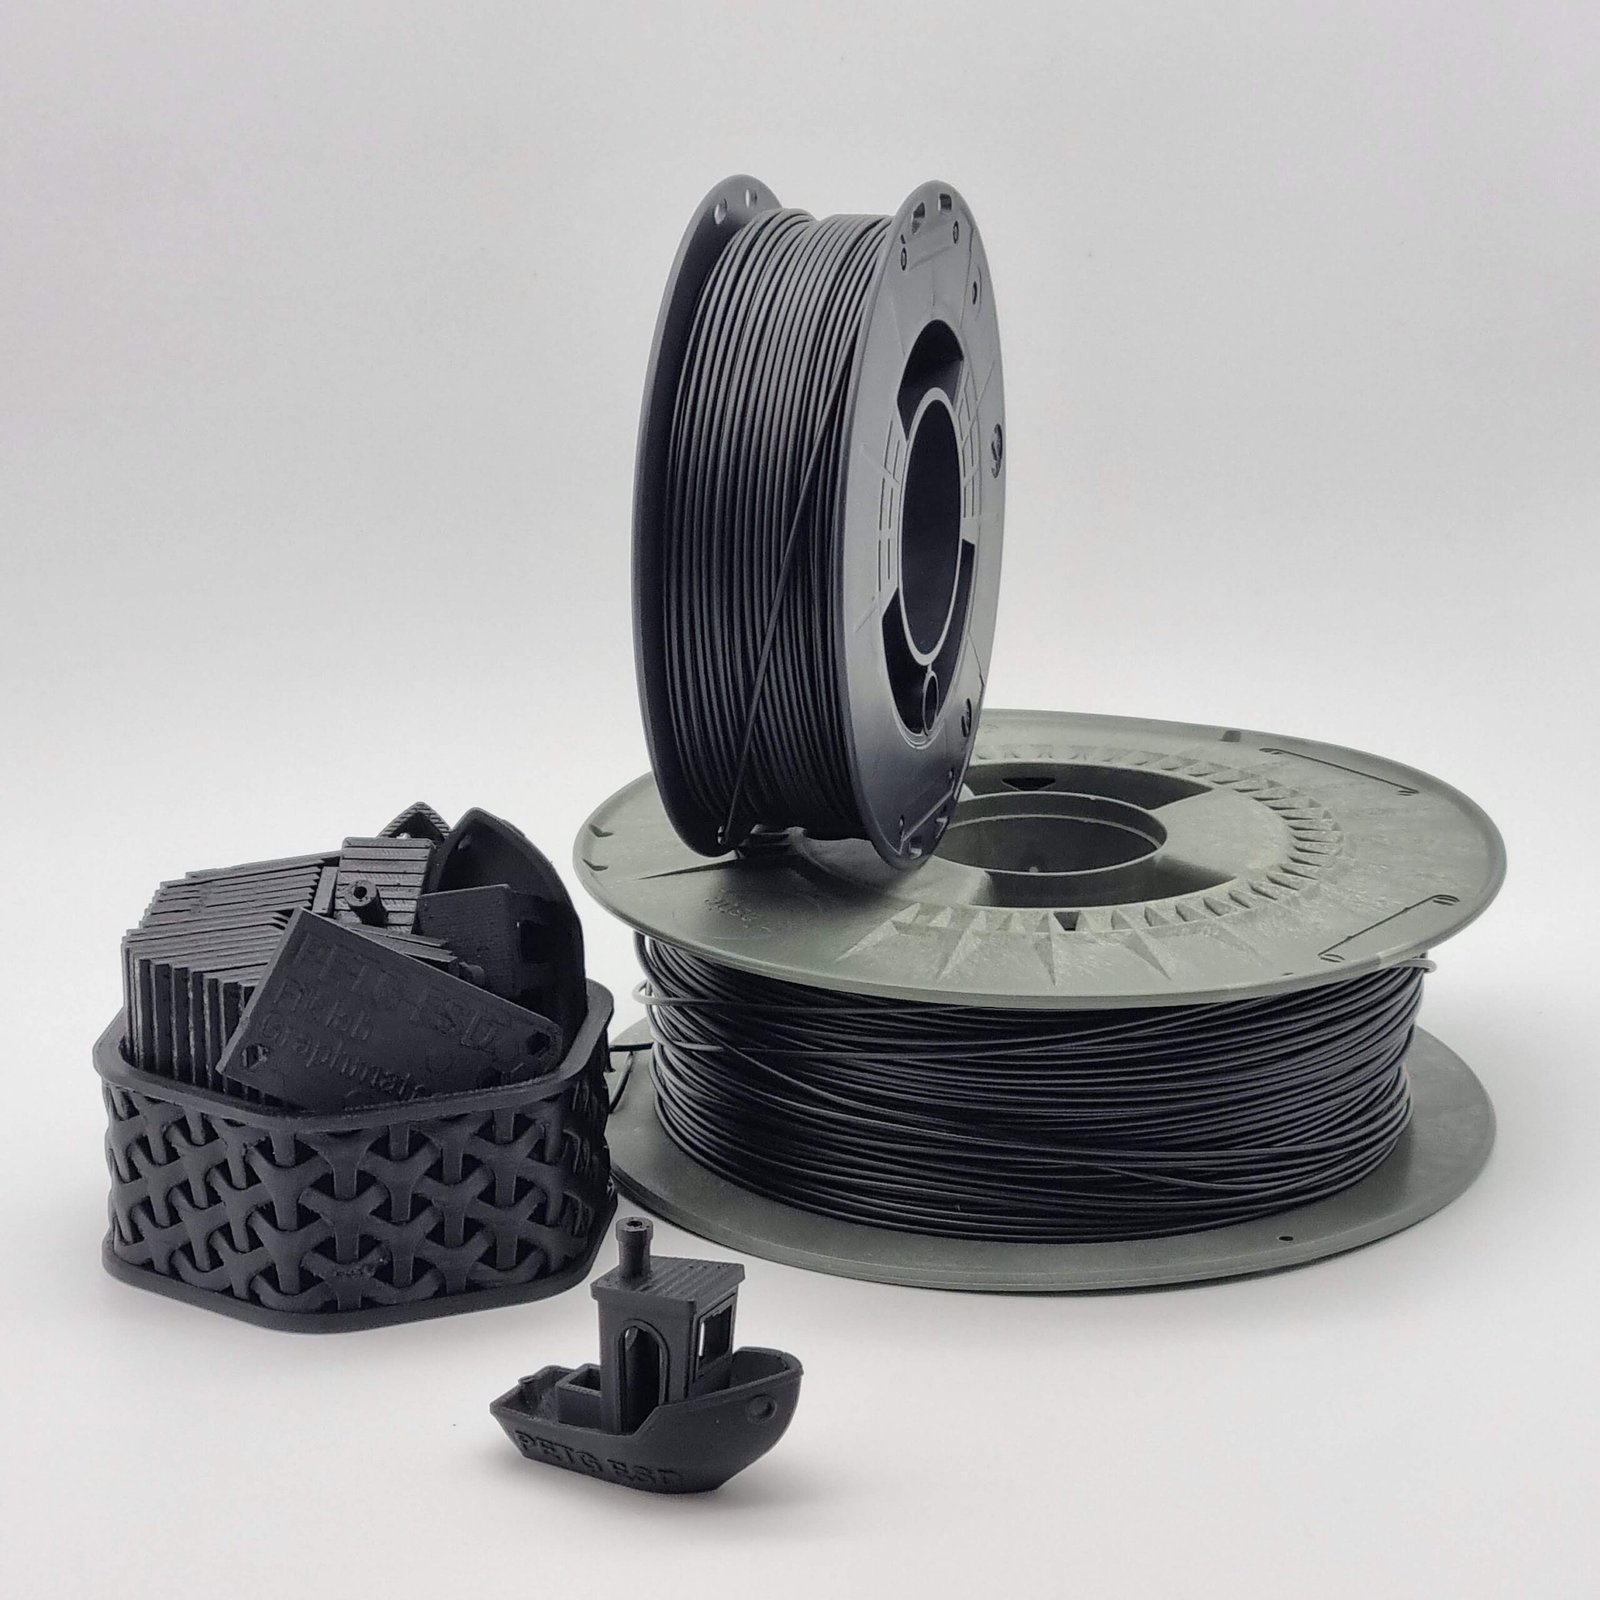
PCTG is quickly earning a reputation among 3D printing enthusiasts and professionals for its excellent clarity, toughness, and chemical resistance. If you’ve chosen PCTG filament, you’re already aiming for robust, beautiful prints. But what if you want to take your finished parts to the next level by adding color through painting or dyeing? Achieving a flawless finish without damaging the unique surface quality of PCTG requires careful preparation, the right materials, and a bit of know-how. This guide walks you through every step—so you can confidently transform your PCTG prints without sacrificing the pristine surface you worked so hard to achieve.
Understanding PCTG Surface Characteristics
PCTG’s unique combination of strength and chemical resistance makes it a favorite for parts that need to be both clear and tough. However, these very properties can also make finishing a challenge. The slick surface of PCTG doesn’t always play well with conventional paints or dyes, and its sensitivity to heat and some solvents means that not every method used on PLA or ABS will work here. Preserving surface quality is about using the right products and the correct technique, from the first cleaning step through to the final topcoat.
Preparation: Getting Your PCTG Print Ready
No matter which coloring method you choose, start with a clean, smooth print. Dust, oils, or leftover support material will all undermine your finish.
- Cleaning: Wash your print with mild soap and warm water. Dry thoroughly. For stubborn grease, use isopropyl alcohol on a lint-free cloth, but avoid excessive rubbing.
- Smoothing: If you want a glassy surface, consider progressive wet sanding with fine-grit sandpaper (start at 400 and go up to 1500+). Avoid aggressive sanding that could scratch the surface irreparably.
- Priming: For painting, a primer designed for plastics is essential. Test on a scrap or hidden section first; PCTG can react differently than PLA or ABS. The right primer ensures adhesion without marring your part’s clarity or smoothness.
Choosing Between Painting and Dyeing
Painting and dyeing each have unique advantages for PCTG prints.
- Painting is best for opaque, vivid color or intricate designs, allowing you to layer effects or mask certain areas. It’s ideal for surface-level color changes.
- Dyeing offers a more subtle, all-over color that preserves translucency and uniformity. It’s perfect when you want the natural clarity of PCTG to shine through a colored tint.
Choose based on your end use: paint for bold looks, dye for seamless color integration.
Safe Painting Techniques for PCTG
- Paint Selection: Stick to acrylic or specialty plastic paints. Avoid solvent-based paints that may damage PCTG’s surface.
- Application: Spray painting is often best for a smooth, even coat. Hold the can 20–30 cm away and use light, overlapping passes. For small details, a high-quality brush with soft bristles is ideal.
- Multiple Thin Coats: Rather than a single heavy coat, build up color gradually. This helps prevent runs, texture changes, and loss of detail.
- Drying & Curing: Allow each coat to dry completely before the next. Ideally, air dry in a dust-free space for several hours. Never use high heat to speed up drying—PCTG can warp at lower temperatures than some other filaments.
- Clear Coat: Protect painted surfaces with a compatible clear coat. Acrylic clear sprays are generally safe and will help prevent scratches or fading.
Dyeing PCTG Without Surface Damage
Dyeing can yield vibrant, uniform results—if you use the right products and method.
- Dye Selection: Use dyes specifically formulated for synthetic plastics, such as iDye Poly or Rit DyeMore.
- Mixing the Dye Bath: Heat water to just below boiling (85–95°C is usually safe). Add the dye as directed, ensuring it is fully dissolved.
- Immersion: Submerge your print using tongs or a mesh basket. Agitate gently to avoid bubbles and uneven coloring.
- Timing: Start with short intervals (1–5 minutes), checking color frequently. The longer the immersion, the deeper the color, but too long may cause softening or surface dulling.
- Rinsing: Once the desired color is reached, remove the print and rinse under cool water until the water runs clear.
- Drying: Air dry thoroughly before handling or additional finishing.
Surface Protection After Coloring
Both painted and dyed parts benefit from a clear, UV-resistant topcoat. This preserves vibrancy and shields the surface from abrasion or environmental exposure. Always ensure your topcoat is compatible with both your coloring method and PCTG itself—test on a scrap when in doubt.
Troubleshooting and Pro Tips
If you spot uneven color, streaks, or paint that won’t adhere:
- Re-clean the surface and try a different primer or dye brand.
- For dye, water that’s too hot or prolonged immersion can dull the finish.
- If a mistake happens, lightly sand and repeat the process. With painting, you can often re-coat after gentle sanding and re-priming.
Final Thoughts: Achieving Professional Results
Painting and dyeing PCTG prints isn’t difficult, but it does demand careful preparation and the right products. Always prioritize gentle cleaning, use compatible primers, and avoid high heat. Whether you’re aiming for a bold, painted statement piece or a subtle, translucent tint, patience and attention to detail will ensure you never compromise on surface quality. Explore, experiment, and share your best results—every PCTG print is a canvas for creativity.

