
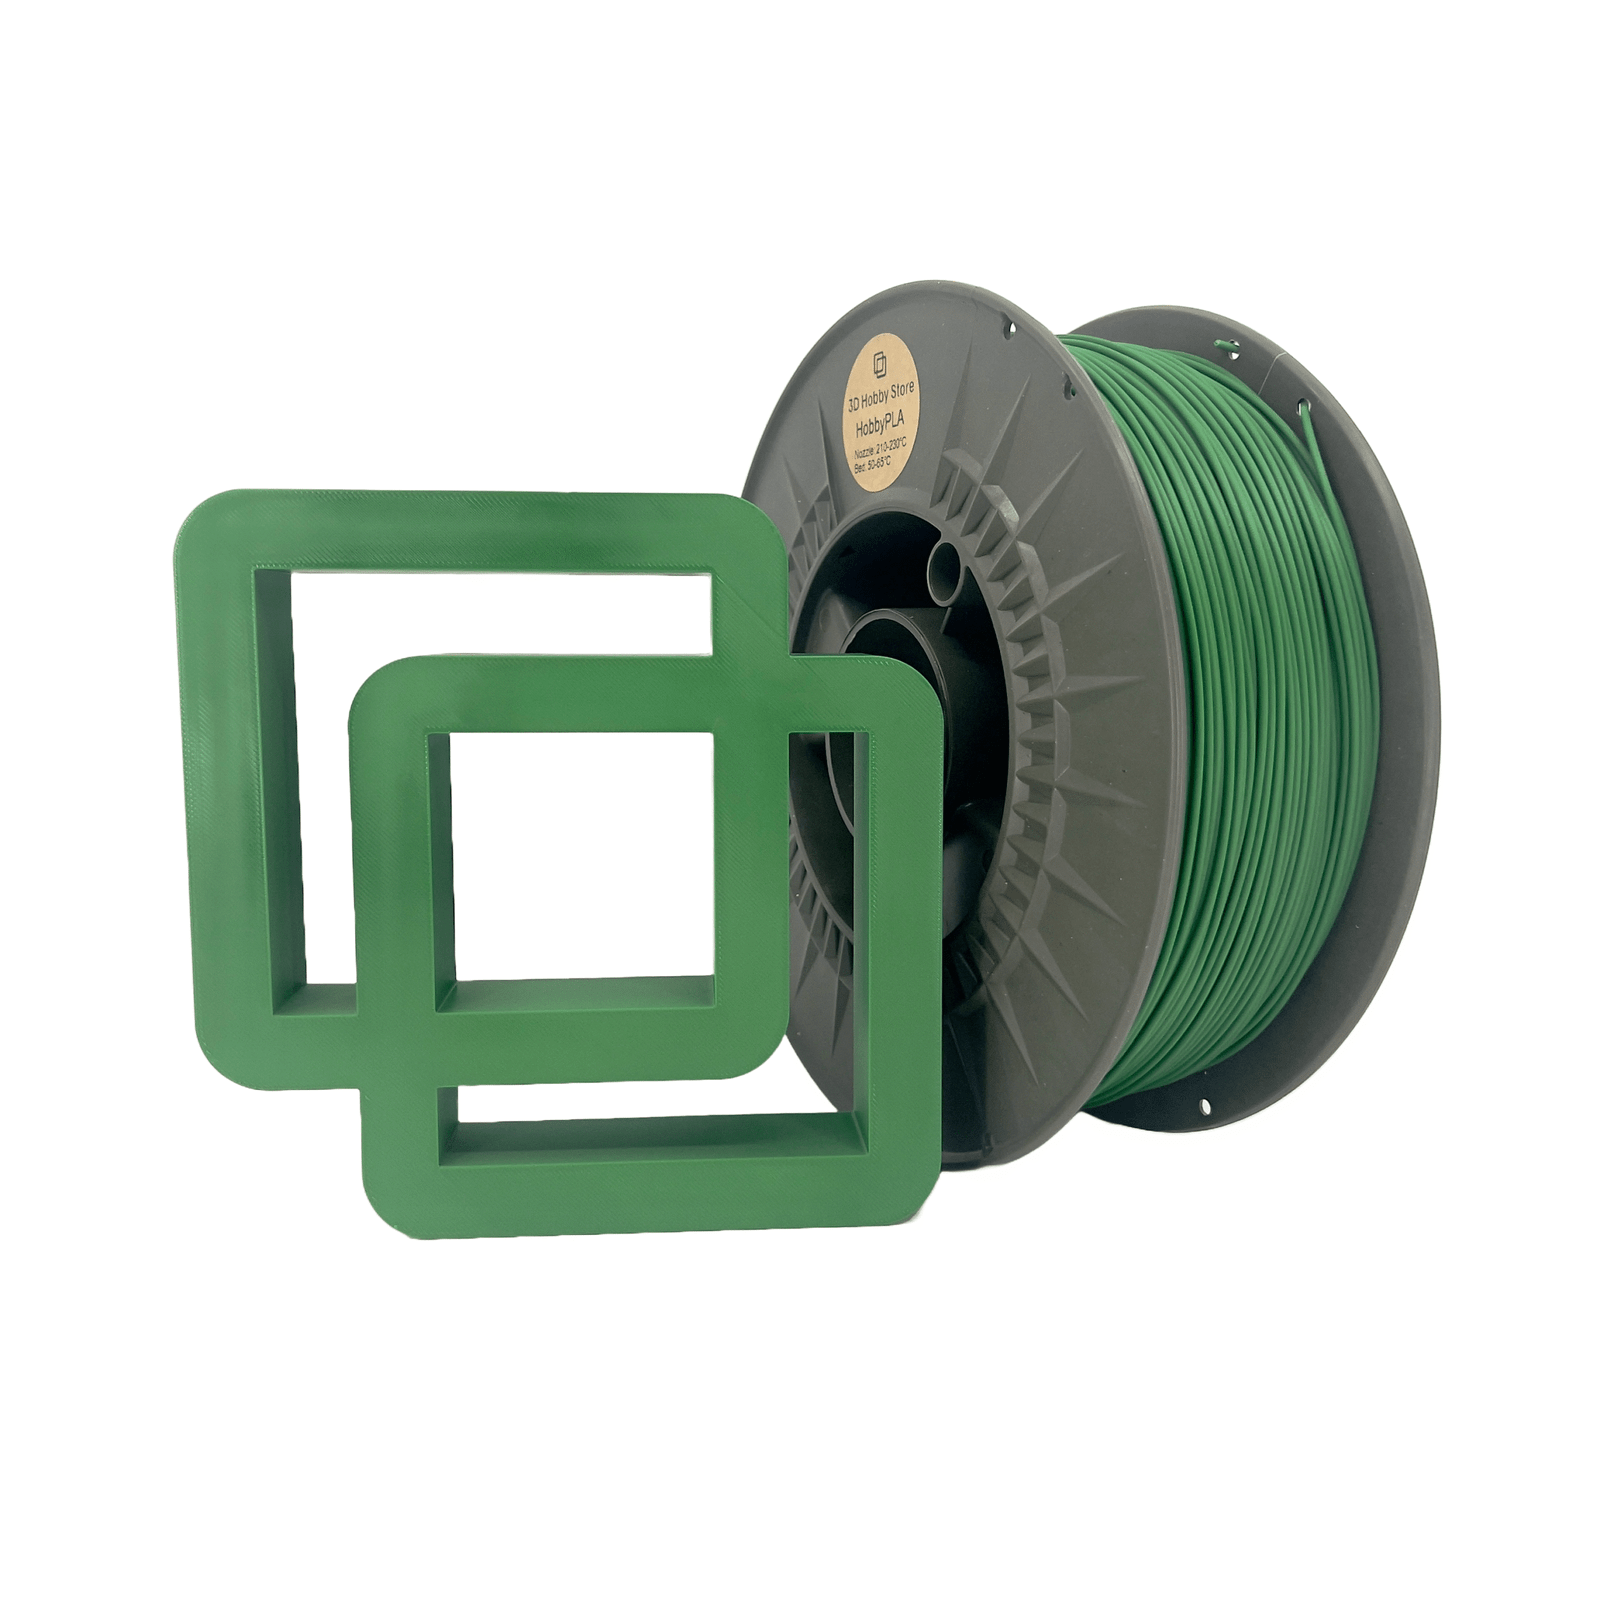
Introduction
PLA+ has become a go-to filament for hobbyists and professionals who want stronger, smoother, and more reliable prints than standard PLA. However, its enhanced formulation also makes slicing more critical than ever. Even small changes in slicer settings can make the difference between dull, uneven layer lines and a polished, professional finish. In this guide, we’ll walk through the key slicer adjustments, troubleshooting methods, and expert techniques to help you achieve cleaner layer lines and perfect overhangs with PLA+.
Understanding the Challenges with PLA+
Layer Lines — What Causes Them?
Layer lines appear when extrusion inconsistencies or layer misalignments occur during printing. These tiny ridges can form from imprecise layer height settings, under- or over-extrusion, or vibrations in the printer. Even though PLA+ offers improved flow stability compared to basic PLA, it’s not immune to mechanical or slicer errors that show up as visible surface imperfections.
Overhangs — Why They Fail
Overhangs push your printer to its limits. Because they extend outward without direct support underneath, improper cooling or high printing speeds can lead to drooping edges or rough undersides. PLA+ responds well to strong cooling, but overheating or insufficient fan control can easily distort the delicate geometry of overhangs.
How Slicer Settings Influence Print Quality
The slicer is your print’s control center — every motion, temperature change, and extrusion command begins here. Settings such as layer height, print speed, temperature, and retraction directly influence surface finish and dimensional accuracy. By tuning these parameters specifically for PLA+, you can eliminate most of the issues that cause rough lines and poor overhangs.
Essential Slicer Settings for Cleaner Layer Lines
Optimizing Layer Height & Line Width
For PLA+, a layer height between 0.12 mm and 0.20 mm works best for balance between detail and speed. Thinner layers produce smoother results but increase print time. Keep the line width close to your nozzle diameter (usually 0.4 mm). Avoid excessively thick layers, as they exaggerate each step and highlight imperfections.
Fine-Tuning Print Speed & Acceleration
Speed kills detail. To reduce ringing and ghosting on the surface, set outer walls to around 30–40 mm/s, while infill and inner walls can print faster. Limit acceleration to around 500–1000 mm/s² for more stable motion. Slowing down gives the extruder time to lay each bead of filament precisely, which directly improves layer alignment.
Extrusion Multiplier & Flow Calibration
Incorrect extrusion flow causes inconsistent lines and gaps. Calibrate flow rate by printing a single-wall cube and measuring wall thickness. PLA+ often benefits from a slight reduction in flow — around 95–98% of the slicer’s default setting. This ensures each layer sits perfectly without bulging or thin gaps between walls.
Temperature Control & Cooling Strategy
PLA+ prints beautifully around 205–215°C, though exact temperature depends on the brand. Too hot, and you’ll see glossy blobs and stringing; too cool, and you risk under-extrusion. Cooling is equally crucial — use 100% fan speed for outer layers and bridges, but slightly reduce it (to 70–80%) for better adhesion between layers.
Slicing for Better Overhangs & Bridges
Enabling Support Structures (Smartly)
Supports are lifesavers — but only when used strategically. Use tree or organic supports to minimize scarring on the print’s surface. Keep support density between 10–15% and use an interface layer for easier removal. Adjust the overhang threshold to 50°, meaning supports will only generate when angles exceed that limit.
Adjusting Retraction & Coasting Settings
Retraction settings prevent oozing during travel moves. Set retraction distance around 0.8–1.0 mm for direct drives or 2–3 mm for Bowden setups. Enable coasting or wiping to release pressure before travel, minimizing the chance of strings forming along overhangs.
Bridging Settings & Slow Bridge Speed
Bridges are extreme overhangs — so they need special care. Lower bridge speed to around 20–25 mm/s and enable “extra fan cooling during bridges” in your slicer. This helps the filament solidify mid-air before sagging. Adjust bridge flow to around 90% for cleaner spans.
Z-Hop, Combing, and Travel Optimization
Z-hop prevents nozzle collisions by lifting slightly during travel, ideal for complex overhangs or multi-part prints. Use a 0.2–0.4 mm Z-hop for safety. Also, enable “avoid printed parts when traveling” to reduce unnecessary scarring on the model’s surface.
Advanced Tips & Troubleshooting
Adaptive Layer Heights & Variable Z-resolution
Many slicers allow adaptive layer height — automatically adjusting layer thickness based on the model’s geometry. This means thin layers on curved surfaces and thicker ones on flat sections, balancing speed and quality. The result? Visibly smoother curves without increasing total print time too much.
Using Shells, Wall Order & Flow Variation
Set at least three outer walls for better surface finish and strength. Printing outer walls before inner ones improves appearance but can slightly affect dimensional accuracy — experiment to find your ideal balance. Fine-tuning flow for the first outer layer can also remove minor ridges.
Fine Tuning for Specific Print Features
If you’re printing sharp overhangs, use slightly lower temperatures (200–205°C) and extra fan speed. For thin or tall parts, slow down printing speed to avoid wobbling. PLA+ responds predictably to small tweaks, so fine-tuning specific features pays off in smoother, more professional results.
Print Test Models & Iterative Approach
Calibration is not a one-time process. Print test models like overhang towers, bridging tests, and temperature towers. Each print reveals where your slicer settings can improve — whether it’s cooling, speed, or extrusion. Small incremental changes lead to dramatically better prints.
Final Tips, Best Practices & Common Pitfalls
Filament Quality, Storage & Drying
PLA+ absorbs moisture quickly. Always store it in airtight containers with desiccant packs. If the filament crackles or pops during printing, it’s time to dry it for a few hours at 45–50°C. Dry filament extrudes consistently, which means smoother surfaces and cleaner layers.
Bed Adhesion & First Layer Setup
The first layer defines the rest of the print. Use a slightly higher initial layer height (0.25 mm) and ensure proper leveling. A consistent first layer ensures even extrusion throughout the print. Brims or rafts can help with adhesion if your model has small contact areas.
Avoiding Vibrations, Resonance & Machine Limitations
No slicer can fix mechanical instability. Tighten belts, lubricate rods, and ensure your printer stands on a stable surface. Vibration dampers can also help reduce visible ripples on walls. Once your hardware is stable, slicer improvements will produce maximum effect.
Summary of Key Settings to Monitor
To summarize: Layer height: 0.12–0.20 mm. Print temperature: 205–215°C. Flow rate: 95–98%. Outer wall speed: 30–40 mm/s. Fan speed: 80–100%. Bridge speed: 20–25 mm/s. These fine-tuned settings are the secret to achieving the clean, sharp, and consistent look PLA+ is known for.
Conclusion
Slicing PLA+ for cleaner layer lines and flawless overhangs is both a science and an art. With careful attention to layer height, cooling, retraction, and flow, you can elevate your prints from good to exceptional. PLA+ rewards patience and precision — and once you dial in the right slicer settings, every print will showcase the true potential of your 3D printer.