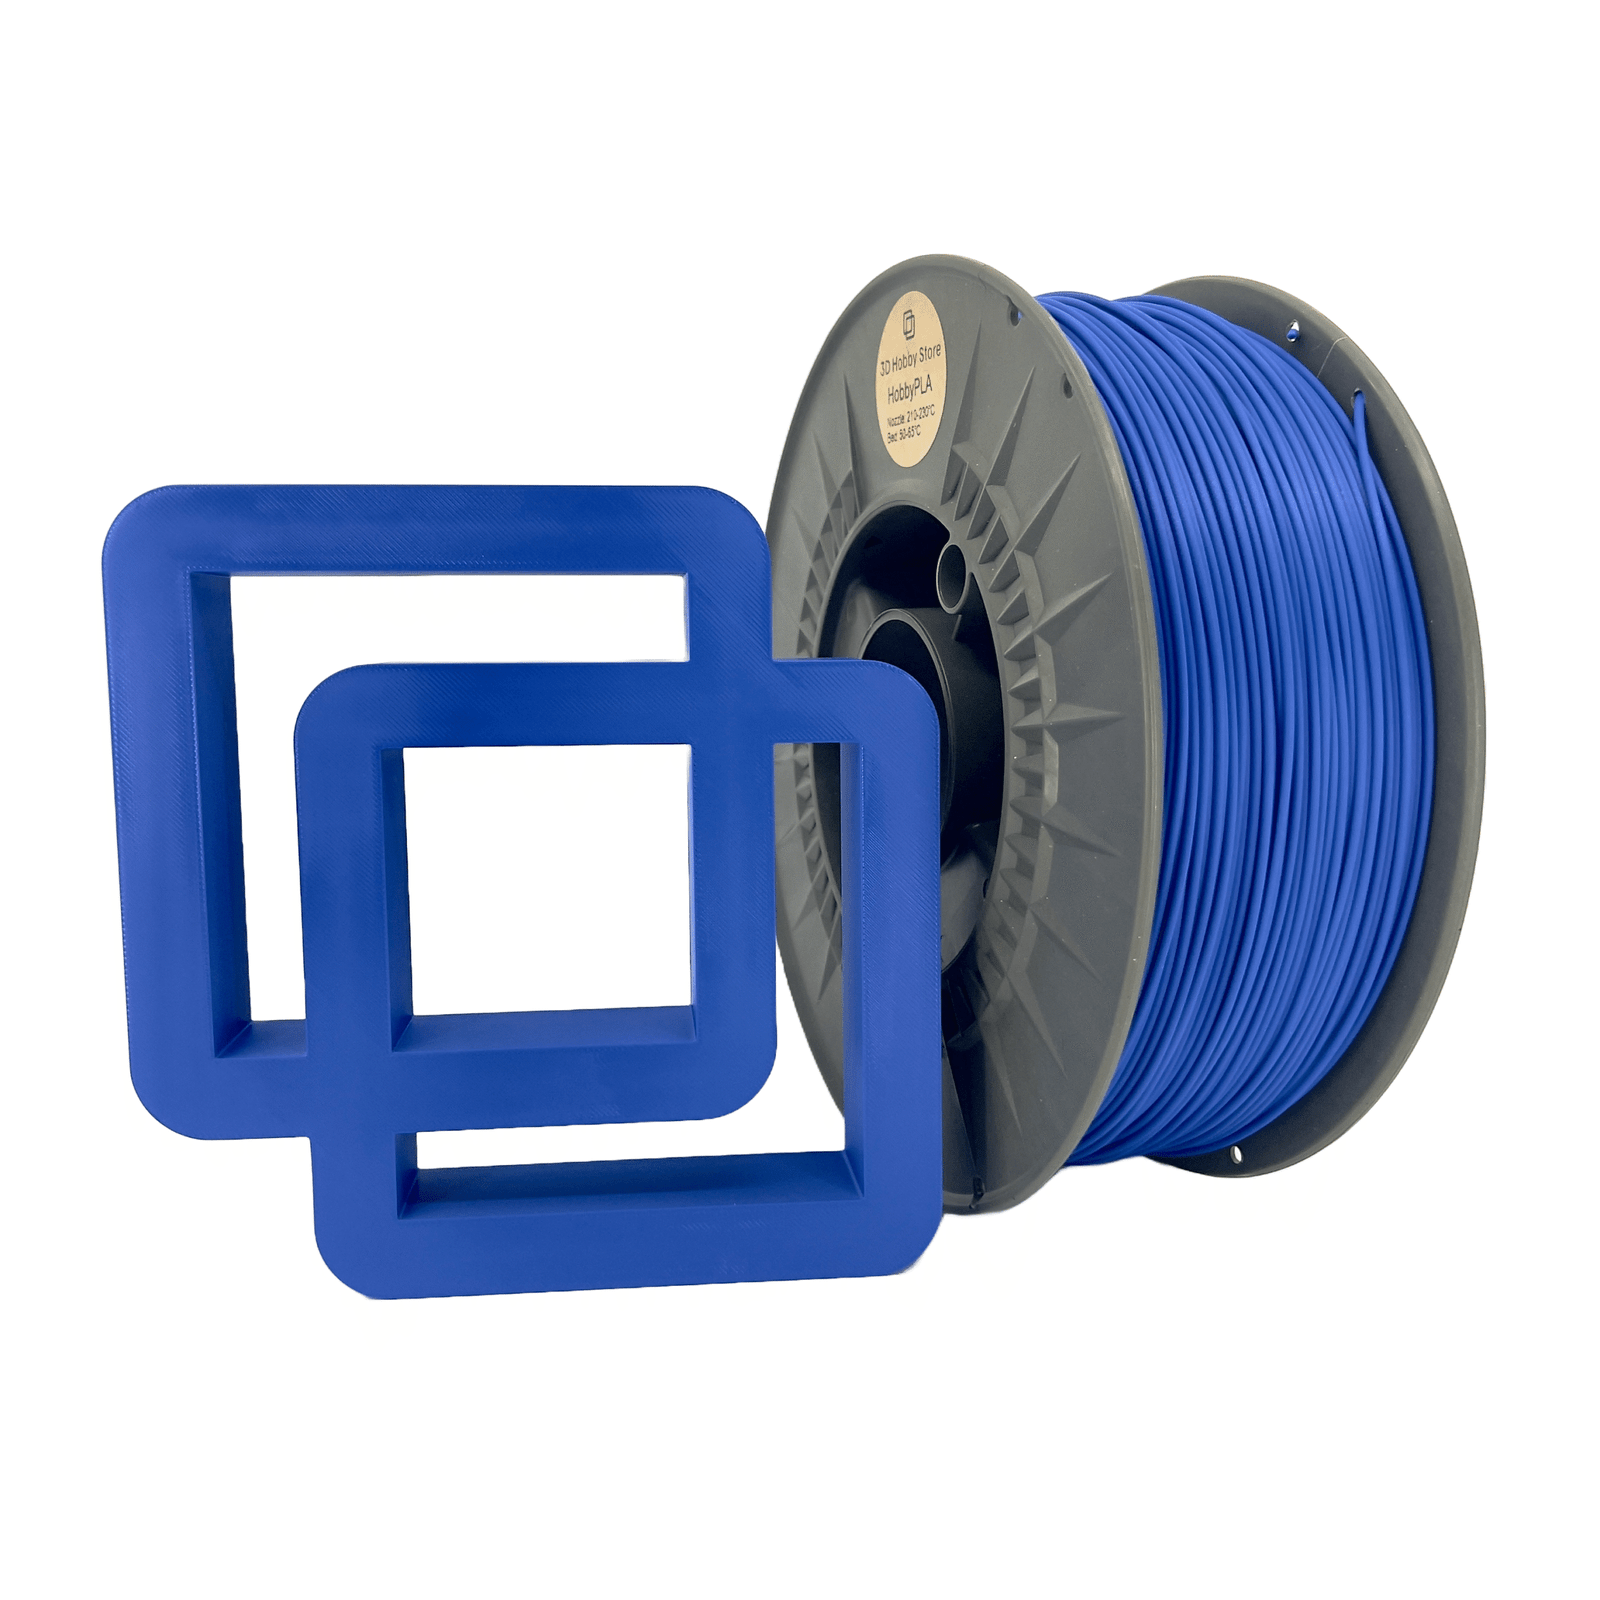
Polycarbonate (PC) filament stands as one of the toughest and most durable materials in 3D printing. Known for its exceptional strength, heat resistance, and clarity, it’s a favorite among advanced makers and industrial users alike. However, printing with polycarbonate requires precision, patience, and careful preparation. This guide dives deep into how to print PC filament correctly, what settings to use, and what safety practices every user must follow.
Understanding Polycarbonate (PC) Filament
Material Properties & Advantages
Polycarbonate is a thermoplastic polymer prized for its impact resistance, high heat tolerance, and optical transparency. It’s used in bulletproof glass, eyewear lenses, and automotive parts — proof of its mechanical superiority. In 3D printing, PC filament brings these properties to functional prototypes and end-use parts that demand durability. It outperforms PLA and PETG in mechanical strength and can withstand temperatures up to 110–130°C before deforming.
Challenges & Limitations
Despite its benefits, printing with PC filament isn’t for beginners. It’s a high-temperature material that requires a well-equipped printer capable of maintaining stable heat levels. PC tends to warp easily if not printed in a controlled environment. It’s also hygroscopic, meaning it absorbs moisture quickly, leading to popping sounds, bubbling, or inconsistent extrusion if not dried properly.
Hardware & Printer Requirements
Hotend & Extruder Considerations
For successful printing, use an all-metal hotend that can safely reach temperatures between 260°C and 310°C. Standard PTFE-lined hotends degrade at these temperatures, so upgrading is essential. Consistent extrusion ensures strong interlayer adhesion, a key to avoiding cracks or delamination.
Heated Bed & Build Volume
Polycarbonate needs a heated bed of 100–120°C to prevent warping and ensure first-layer adhesion. Larger prints benefit from an enclosed build chamber that maintains even ambient temperatures, minimizing internal stresses.
Build Surface & Adhesion Methods
A good adhesion setup can make or break your print. Surfaces like PEI sheets, Kapton tape, or specialized PC adhesives provide strong first-layer bonding. Applying a thin layer of glue stick can also help. Always make sure your bed is clean and properly leveled.
Cooling & Fan Control
Cooling fans should be turned off or set to a very low speed during PC printing. Sudden cooling causes warping or cracks. Maintain a consistent temperature inside the enclosure for optimal layer adhesion.
Print Settings & Calibration Strategies
First Layer Calibration
Your first layer sets the foundation for success. Print it slower and hotter than the rest, around 270°C, with the bed at 115°C. This helps the filament fuse to the surface evenly. Keep the nozzle slightly closer to the bed for improved grip but avoid squishing it too much.
Retraction, Stringing, and Oozing Control
PC is prone to stringing due to its viscosity. Try retraction distances of 1–2mm and moderate speeds. Lowering print temperatures slightly after the first few layers can also reduce oozing.
Top, Infill, and Wall Settings
For structural parts, use 30–50% infill with at least 3 perimeters (walls) to improve strength. PC adheres well to itself, so higher wall counts significantly boost impact resistance. Top layers should be thick enough to close gaps caused by cooling shrinkage.
Bridging & Overhangs
Printing bridges with PC requires careful balance — reduce print speed and use minimal cooling. Supports may be necessary for steep overhangs since PC sags more than PLA.
Layer Adhesion & Temperature Management
Strong layer adhesion is one of PC’s biggest strengths, but only if printed hot enough. Maintain a consistent temperature through all layers and avoid drafts. Gradual cooling after the print ends helps prevent cracking.
Best Practices & Pro Tips
To master PC printing, dry your filament before use at 70–80°C for 4–6 hours. Store it in airtight containers with desiccant afterward. Always print in an enclosed chamber for stability and use brims or rafts to combat warping. Consider annealing finished prints in an oven at 100°C for one hour to improve internal structure and strength.
Safety & Handling Considerations
Fumes, VOCs & Ventilation
When heated, polycarbonate may release small amounts of bisphenol-A (BPA) and other VOCs, which are unsafe in unventilated spaces. Always print in a well-ventilated area or use a printer with a HEPA/activated carbon filter to remove fumes.
Thermal Risks
The temperatures required for PC printing are high enough to cause burns. Avoid touching the nozzle, heated bed, or fresh prints until they have cooled. Wear heat-resistant gloves when removing large prints.
Material Storage & Moisture Control
PC filament absorbs moisture even from room air. Always store it in an airtight container with silica gel packs and dry it before every long print. Proper filament moisture control prevents extrusion problems and ensures consistent results.
Common Problems & Troubleshooting
If you notice warping, increase bed temperature or use an enclosure. Delamination often means insufficient heat or poor adhesion — raise nozzle temp or add a brim. Stringing can be reduced with tuned retraction and lowering print temperature slightly. If bubbles appear, it’s likely moisture—dry your filament immediately.
Applications & Use Cases
PC filament is ideal for engineering-grade parts such as mechanical joints, gears, automotive brackets, and protective casings. It’s also used in transparent enclosures and light-diffusing components where strength and clarity matter equally. Whether for prototyping or production, PC offers reliability and longevity.
Recommended PC Filament Brands & Variants
For consistent quality, choose reputable brands like Polymaker PolyMax PC, Prusament PC Blend, or eSun PC+. Blended versions like PC-ABS or PC-PETG offer improved printability while maintaining core strength. Always check the manufacturer’s datasheet for specific settings.
Conclusion & Key Takeaways
Printing with polycarbonate requires more than just heat — it demands control, patience, and precision. From maintaining filament moisture control to mastering temperature management, each detail plays a role in success. With proper hardware, ventilation, and calibration, you’ll unlock one of the most rewarding materials in 3D printing. Experiment safely, stay consistent, and enjoy the unmatched durability of your next 3D filament storage or mechanical project printed with polycarbonate.

