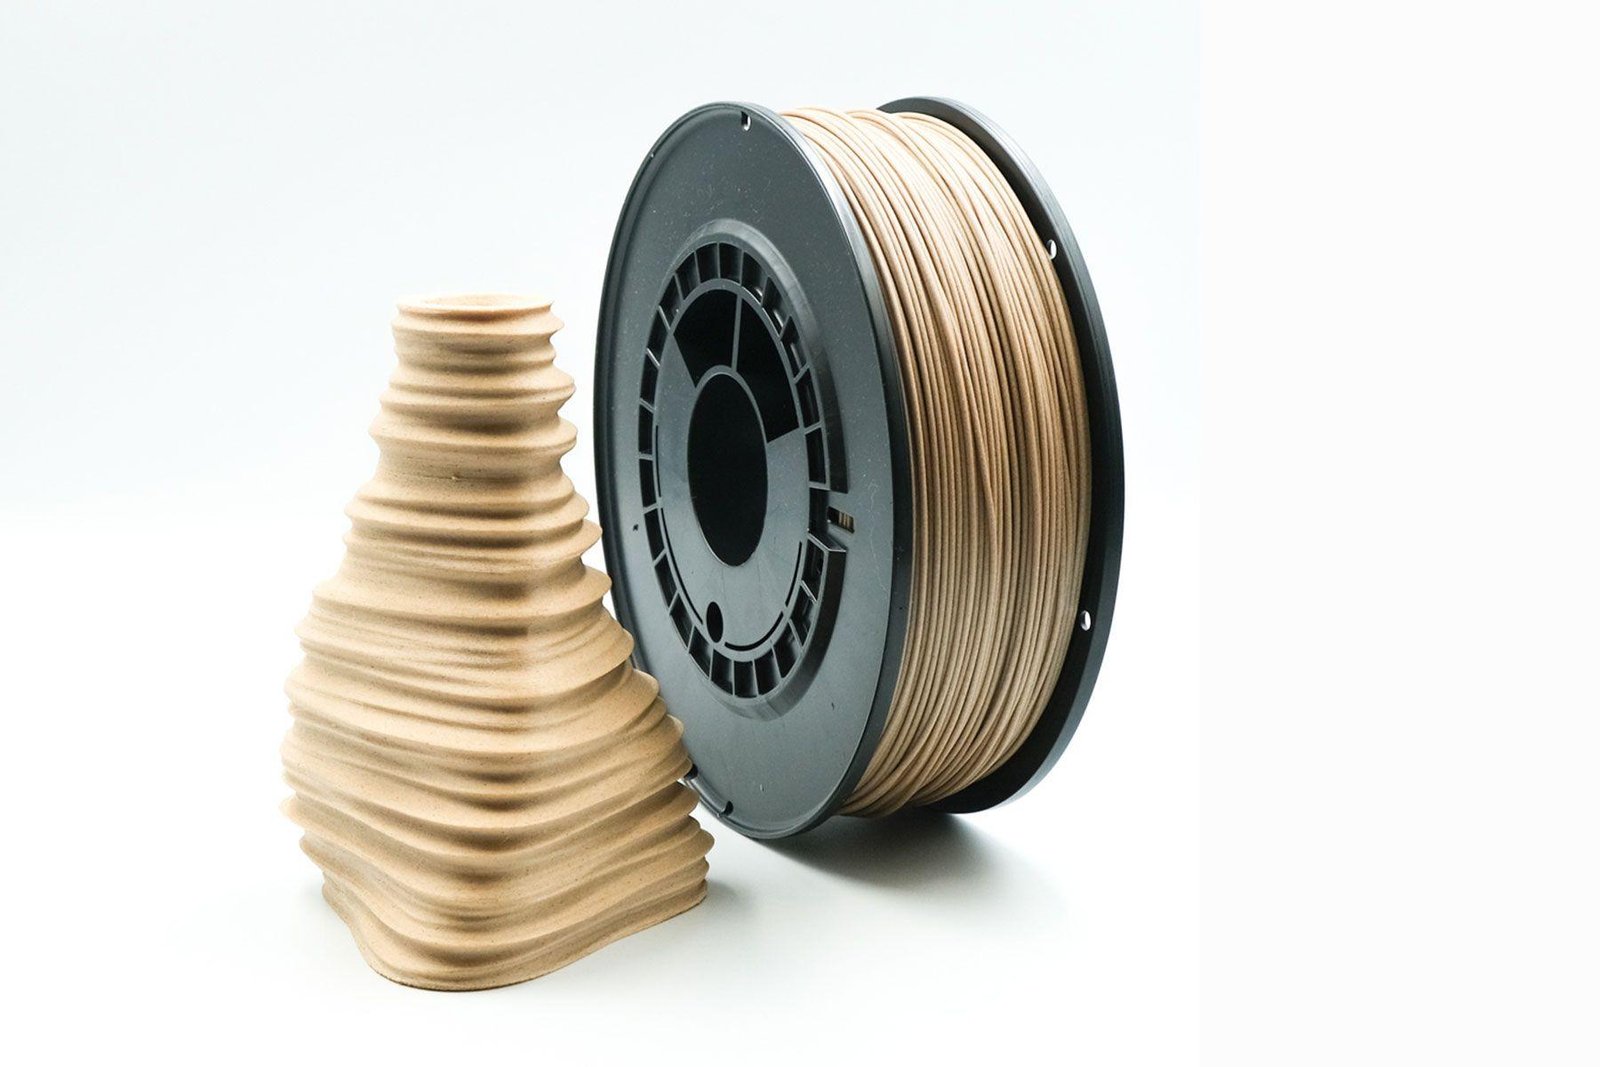
PCTG filament has rapidly gained recognition among 3D printing enthusiasts and professionals for its unique combination of durability, clarity, and printability. Yet, unlocking the true potential of PCTG in your prints hinges on one critical factor: print temperature. Whether you’re new to this material or seeking to fine-tune your process, understanding how to set the ideal print temperature for PCTG can be the difference between mediocre results and flawless 3D prints.
What is PCTG, and Why Does Print Temperature Matter?
PCTG, or PolyCyclohexylene Dimethylene Terephthalate Glycol, is a copolyester closely related to the ever-popular PETG. It boasts enhanced impact resistance, greater flexibility, and a higher chemical resistance profile, making it ideal for parts that demand both strength and clarity. However, PCTG’s unique formulation also means it behaves differently under heat compared to PLA, ABS, or even PETG.
Print temperature affects how the filament extrudes, bonds layer by layer, and ultimately determines the mechanical properties, appearance, and reliability of your print. Too low, and you risk under-extrusion and poor adhesion; too high, and you may encounter stringing, oozing, or even degradation of the material.
Understanding the Ideal Temperature Range for PCTG
While each brand of PCTG might publish its own recommended print settings, most quality PCTG filaments work well between 240°C and 270°C for the nozzle temperature. Heated beds are strongly recommended, with most manufacturers suggesting a range between 70°C and 90°C.
It’s important to note that these numbers are starting points. Variability in ambient temperature, the specific 3D printer, and even the geometry of your part can influence what “ideal” means for your project.
How to Determine the Perfect Print Temperature for Your PCTG
- Start with Manufacturer Recommendations
Always check the filament spool or the manufacturer’s website for their suggested print and bed temperature ranges. These recommendations are tested guidelines and will get you close to optimal results for their specific formula. - Print a Temperature Tower
One of the most reliable ways to dial in your print temperature is by printing a temperature tower—a vertical model segmented into different temperature zones. Many free temperature tower STL files are available online, and some slicers even offer plugins to automate this process.
Begin the print at the highest recommended temperature and program your printer to lower the temperature by 5°C or 10°C at specific heights. Once the tower is printed, inspect each section for visual quality, layer adhesion, stringing, and surface smoothness. - Examine the Results
Look for the temperature zone where the filament flows smoothly, layers fuse tightly, and there’s minimal stringing or blobbing. Also, test the physical strength by gently flexing or pressing the segments. The ideal zone is usually where quality and strength are both highest. - Fine-Tune for Specific Needs
If your print demands maximum strength (for mechanical parts), you may favor the higher end of the temperature range. For crisp detail or reduced stringing (for aesthetic models), a slightly lower temperature may be preferable.
Other Key Factors That Affect Print Temperature
- Nozzle Size and Material: Brass nozzles work well for most PCTG, but if you’re using abrasive variants or larger nozzles, you may need to slightly increase the temperature for consistent flow.
- Print Speed: Faster print speeds may require higher temperatures to maintain optimal extrusion.
- Cooling and Enclosures: PCTG prints best with moderate cooling. Too much cooling can cause layer separation; too little can worsen stringing.
- Environmental Conditions: Printing in a draft-free, stable-temperature environment helps maintain consistent results.
Troubleshooting Common PCTG Temperature Issues
- Under-Extrusion & Weak Layer Adhesion: Typically a sign your temperature is too low. Increase the nozzle temp in 5°C increments and re-test.
- Excessive Stringing & Oozing: Usually indicates the temperature is too high, or retraction settings need adjustment. Lower the temperature in small steps and optimize retraction distance and speed.
- Poor Surface Finish or Bubbling: Can result from overheated filament or residual moisture. Ensure your filament is dry and lower the temperature if necessary.
Conclusion
Setting the ideal print temperature for PCTG is essential for achieving both strong and visually appealing results. While general guidelines are a great starting point, every printer, filament batch, and environment is slightly different. Take the time to experiment with temperature towers, monitor your results, and adjust other settings as needed. With patience and practice, you’ll find the sweet spot for your setup, opening up new creative possibilities with PCTG filament.

