
Printing with PETG on a glass bed can produce beautiful, glossy first layers and reliable adhesion—but it also comes with unique risks. PETG is notorious for bonding so well to glass that it can fuse, making part removal difficult or even leading to cracks and chips in your print surface. Understanding how to print PETG on glass safely is essential for every 3D printing enthusiast who wants excellent results without costly mistakes.
Understanding PETG and Glass Beds
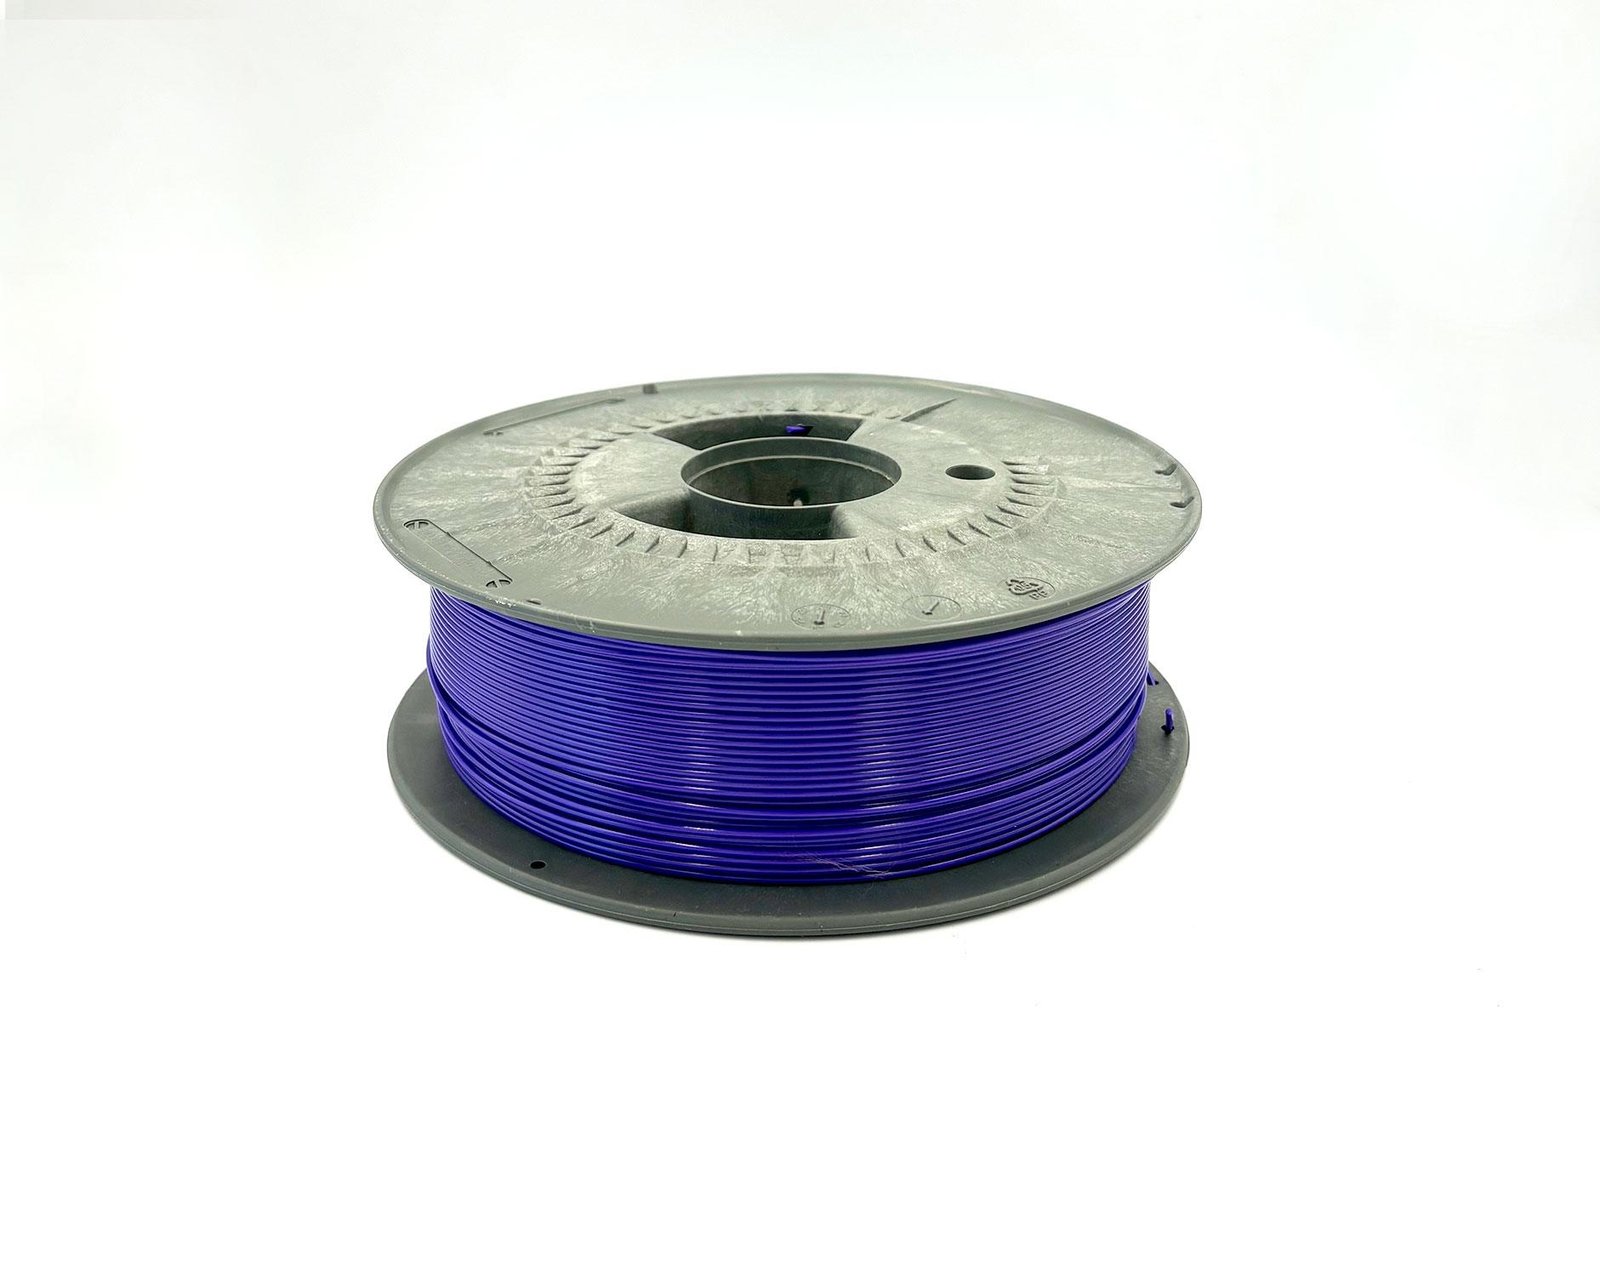
PETG (Polyethylene Terephthalate Glycol) is a popular filament in the 3D printing world. It’s prized for its strength, flexibility, and clarity, making it ideal for functional prints, enclosures, and transparent models. Many users choose glass beds because they’re flat, easy to clean, and create impressively smooth first layers. However, unlike PLA, PETG’s chemistry causes it to adhere more aggressively to glass, which can result in the dreaded “fusing” problem.
Why PETG Tends to Stick to Glass
The strong adhesion between PETG and glass is due to the molecular interaction between the softened polymer and the glass surface, especially at elevated temperatures. While this might sound ideal for preventing warping, the bond can become so strong that your print essentially becomes glued to the bed. Attempting to force it off risks shattering your glass or damaging the part itself.
Preparation: Setting Up Your Glass Bed for PETG
Proper preparation is the most important factor for printing PETG on glass without issues. Begin by thoroughly cleaning your glass bed to remove any dust, oil, or old adhesive. Use isopropyl alcohol and a lint-free cloth for best results.
Next, choose a suitable release agent. Common options include a thin layer of glue stick, a light mist of hairspray, or specialty 3D printing adhesives. These form a separation barrier between PETG and glass, allowing strong enough adhesion for printing but still enabling easy part removal.
Bed leveling is another critical factor. PETG typically benefits from a slightly higher first layer than PLA. If the nozzle is too close, the filament will squash and bond tightly; a bit of extra gap helps prevent this. Take time to re-level and use a feeler gauge or piece of paper for accuracy.
Optimal Print Settings for PETG on Glass
Getting your print settings right is crucial for success.
- Bed Temperature: PETG usually sticks well at 70–80°C, but higher temps can increase the risk of fusing. Try starting at 70°C and adjust as needed.
- Nozzle Temperature: A range of 230–250°C is standard for PETG, but every brand is a bit different. Print temperature towers to dial in the perfect number.
- First Layer Height: Set your first layer slightly higher than usual—think 0.2 mm or more—to avoid over-squishing.
- Print Speed: PETG likes slower speeds for the first layer, around 15–25 mm/s, to promote even extrusion.
- Cooling: Use moderate cooling (30–50% fan speed) after the first few layers. Too much cooling too soon can cause warping; too little can lead to stringing.
Essential Tips to Prevent Damage or Fusing
To avoid damaging your glass bed or ending up with fused prints, always use a separation layer. Even a simple glue stick is usually enough. Some users prefer applying blue painter’s tape or PEI sheets as reusable barriers.
Let your print cool completely before attempting removal. PETG contracts slightly as it cools, which can help “pop” the print off the glass naturally. If it’s still stuck, never force it—slip a thin spatula or scraper gently under one edge, or reheat the bed slightly (to around 50°C) and try again.
Troubleshooting Common Issues
If you experience stuck prints, don’t panic. First, double-check that you’re using enough release agent and that your first layer isn’t too close. If you accidentally fused PETG to your glass, don’t use excessive force. Instead, heat the bed to printing temperature and carefully try to work the part loose.
For warping or poor adhesion, ensure the bed is clean and level, and slightly raise the bed temperature or lower your fan speed for the first layers. If you see surface marks or cloudiness on your glass, clean it with warm soapy water and avoid using abrasives.
Best Practices for Longevity of Your Glass Bed
Maintain your glass bed by cleaning it after each print session, and inspect for chips or scratches regularly. If your glass becomes damaged or develops a persistent haze, consider flipping it over or replacing it. Investing in a borosilicate glass plate can also provide greater durability.
Conclusion
Printing PETG on glass can deliver smooth, stunning results—if you follow the right steps. Use a release agent, dial in your bed and nozzle temperatures, and always let the print cool before removal. By treating your glass bed with care and understanding PETG’s quirks, you’ll avoid damage and enjoy the benefits of flawless 3D prints.