
As 3D printing expands into demanding functional applications, material performance matters more than ever. Annealing is a key process for improving the durability of PCTG (polycyclohexylenedimethylene terephthalate glycol-modified) 3D printed parts, especially when heat resistance is essential. In this guide, we’ll explore how to anneal PCTG prints to boost their heat-deflection temperature (HDT), making them suitable for tougher environments and long-term use.
What is Annealing and Why Does PCTG Benefit?
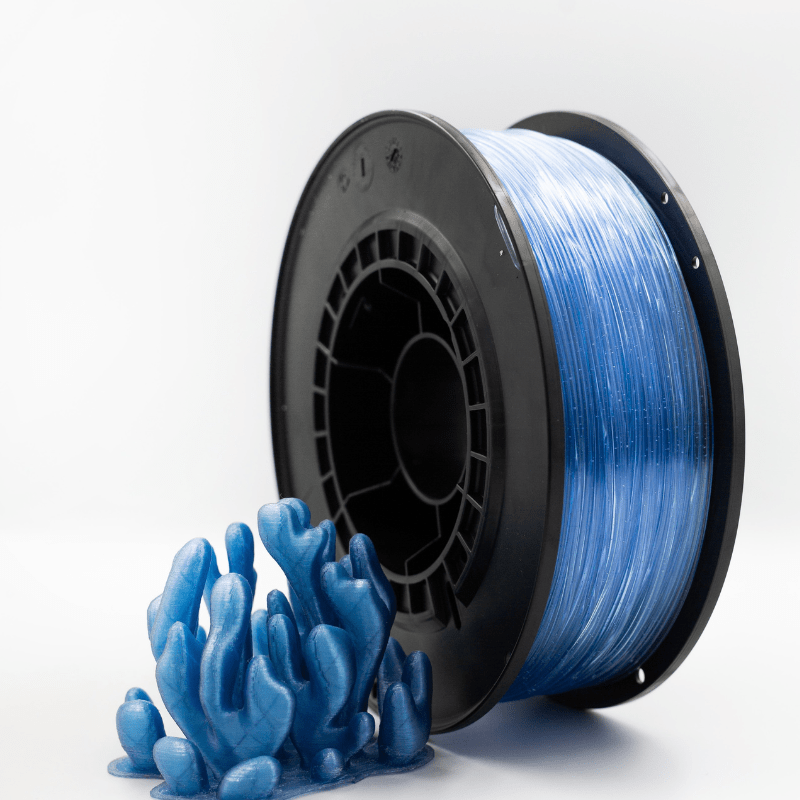
Annealing is a controlled heating and cooling process that alters the internal structure of thermoplastics, enhancing specific properties like strength, clarity, and—most importantly—thermal resistance. For PCTG, a copolyester favored for its clarity and toughness, annealing can be transformative. While PCTG already boasts good mechanical properties straight off the printer, its as-printed HDT limits use in hot environments. Annealing aligns and stabilizes the polymer chains, helping parts withstand higher temperatures without deforming.
Understanding Heat-Deflection Temperature (HDT)
The heat-deflection temperature (HDT) is a standardized metric indicating the temperature at which a plastic deforms under a specified load. If you plan to use your PCTG parts in settings exposed to heat—think automotive, electronics housings, or outdoor gear—a higher HDT is crucial. While unannealed PCTG might soften at around 60–70°C, proper annealing can often raise this threshold to 80–90°C or higher, expanding the possibilities for your prints.
Preparation: What You Need Before Annealing
Before you begin, gather the right tools for safe and successful annealing:
- An accurate oven: A toaster oven or convection oven works best. Avoid microwaves.
- Thermometer: Essential for verifying oven accuracy.
- Timer: For precise heating and cooling times.
- Heat-resistant tray or mat: To support your parts and avoid contact with metal racks.
- Protective gloves: For safe handling.
Preparation steps:
- Remove all supports and rafts from the print.
- Clean the part to eliminate dust or debris.
- Inspect for defects; annealing won’t fix poor layer adhesion or internal voids.
Step-by-Step Annealing Process for PCTG Parts
1. Preheat the Oven
Preheat your oven to a target temperature between 80°C and 90°C (176–194°F). Use a thermometer to confirm the oven’s actual temperature, as many ovens run hotter or colder than the dial indicates.
2. Position the Parts
Place your parts on a flat, heat-resistant surface. For best results, support thin or tall prints with a bed of fine sand to minimize warping.
3. Set the Correct Annealing Temperature
80–90°C is generally optimal for PCTG. Lower temperatures may not be effective, while higher temperatures risk melting or deforming your print.
4. Time the Annealing Process
Anneal for 30 to 60 minutes, depending on part size and wall thickness. Thin, small prints need less time; thicker or larger pieces may need closer to an hour.
5. Cooling Down: How to Avoid Warping
When time’s up, turn off the oven but leave the parts inside to cool slowly. Rapid temperature changes can cause warping or cracking. Let the oven cool down to room temperature before removing the parts.
Pro tips:
- Avoid opening the oven mid-process; temperature swings can harm results.
- For complex parts, consider covering with a second tray to keep heat in and reduce drafts.
Expected Results: What Changes After Annealing?
Properly annealed PCTG parts show significant improvements in heat resistance. You’ll notice your prints don’t soften or deform at temperatures where untreated parts would fail. The material may also become slightly more rigid and less flexible.
Watch for:
- Dimensional changes: Shrinkage of 1–2% is common, so measure your parts before and after.
- Color or finish changes: Some transparency loss or increased gloss may occur, but PCTG usually maintains excellent appearance.
Troubleshooting Common Problems
Warping or Cracking:
- Make sure your oven temperature is accurate and cool parts slowly.
- Support delicate areas with sand or similar heat-stable material.
Uneven Results:
- Check for cold spots in the oven.
- Rotate the tray halfway through (if safe to do so).
Best Applications: When to Anneal Your PCTG Prints
Annealing isn’t needed for every print. Focus on parts exposed to heat or mechanical stress, such as:
- Under-the-hood automotive clips and mounts
- Outdoor enclosures and gear
- Functional prototypes for product testing
- Electrical housings or fixtures
For purely decorative items or low-stress, indoor use, annealing may be unnecessary.
Conclusion
Annealing is a straightforward but powerful technique to unlock the full potential of PCTG 3D printed parts. By carefully controlling the heating and cooling process, you can dramatically raise the heat-deflection temperature and mechanical stability of your prints. For anyone seeking professional-grade, high-performance components from their 3D printer, learning to anneal PCTG parts is a skill well worth mastering. Take your time, follow the steps above, and enjoy the next level of durability in your creations