
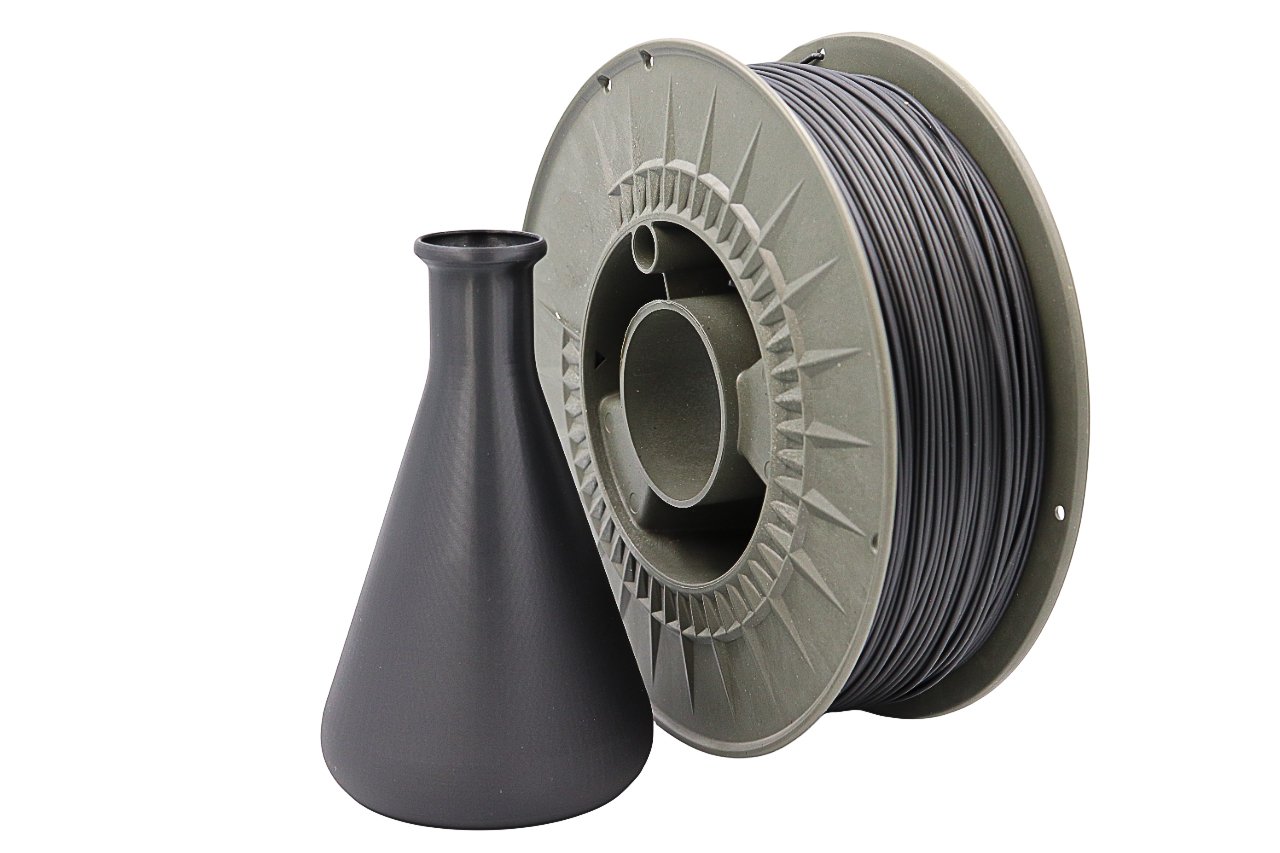
Understanding Print Orientation in 3D Printing
When it comes to 3D printing, print orientation isn’t just a matter of convenience—it’s one of the most critical factors that determine how strong your final part will be. Print orientation refers to the positioning of your object on the build plate before printing begins. Whether it’s laid flat, upright, or angled, this choice directly affects how each layer of filament bonds to the next, shaping both mechanical performance and aesthetic quality.
By understanding how orientation interacts with your chosen filament’s properties, you can significantly improve strength, surface finish, and print efficiency. While many beginners focus on infill or layer height, the direction of your print layers often makes the difference between a sturdy, reliable part and one that breaks under pressure.
The Science Behind Filament Strength
At its core, filament strength is defined by how well the layers of material fuse together during extrusion. Each layer adheres to the previous one through thermal bonding, but this bond is inherently weaker than the strength within a single layer. This difference creates what engineers call anisotropy—meaning the printed part doesn’t have uniform strength in all directions.
When you print in the X-Y plane, the filament lines within each layer are tightly fused and can handle tensile stress effectively. However, along the Z-axis (the vertical direction), the adhesion between layers can be weaker, leading to delamination or cracking under stress. This is why parts printed vertically often fail at the layer lines, while those printed horizontally tend to resist tension better.
Understanding tensile strength (resistance to pulling forces) versus shear strength (resistance to sliding forces) is key here. A strong print orientation optimizes both, ensuring your part performs well under real-world conditions.
How Print Orientation Affects Mechanical Properties
Every 3D print has three primary axes—X, Y, and Z—and how your model is oriented relative to these axes dictates how it will handle stress.
- X and Y Axes: Printing flat across these planes typically yields the strongest results because the filament lines are continuous and cohesive.
- Z Axis: Vertical printing often introduces weakness since each new layer relies on bonding to the one below, rather than forming a continuous structure.
The relationship between orientation and strength becomes even more apparent when considering forces like bending, impact, or torsion. For example, a printed wrench laid flat on the bed will better resist bending forces than one printed standing up. Similarly, orientation influences flexibility—some orientations allow for controlled bending without breaking, ideal for prototypes or tools that need resilience.
Comparing Orientations: Which Is Stronger?
Choosing between horizontal, vertical, or angled orientation often involves balancing mechanical performance with printability.
- Horizontal Orientation: Offers maximum strength along the X-Y plane and better load distribution. However, it may require more support structures depending on the model.
- Vertical Orientation: Suitable for achieving finer details and minimizing support, but it significantly weakens the Z-axis strength.
- 45° or Angled Orientation: This middle ground helps distribute forces more evenly and can improve both aesthetics and durability for certain geometries.
Ultimately, no single orientation is universally “best.” The ideal choice depends on how your part will be used—whether it needs to bear loads, flex, or withstand torsion.
Optimizing Print Orientation for Stronger Parts
If you want your 3D prints to withstand stress and last longer, print orientation should be optimized alongside infill and shell settings. Start by analyzing the direction of the forces your part will face. Align the strongest axis of the print (X-Y) with the direction of the highest expected load.
Design tips for stronger orientation:
- Avoid vertical printing for load-bearing parts.
- Increase wall thickness or perimeter count to reinforce weak areas.
- Combine optimal orientation with higher infill density and stronger materials like PETG or Nylon.
- Use advanced slicer features such as adaptive layer height and infill angle adjustment for more precise results.
By fine-tuning these factors, you can dramatically improve mechanical performance without increasing print time or material cost.
Practical Applications and Case Examples
In real-world scenarios, the impact of orientation on filament strength can be seen across industries.
- Tooling and Fixtures: Engineers printing jigs or mechanical tools often orient parts horizontally to ensure maximum load-bearing capacity.
- Drones and RC Components: Lightweight, flexible materials like carbon fiber-reinforced filaments are often printed at 45° angles to distribute stress and prevent cracking during vibration.
- Functional Prototypes: For parts that must endure repetitive stress or movement, designers optimize both orientation and infill pattern to achieve the ideal balance between rigidity and flexibility.
This principle is particularly relevant in industrial applications where a single weak layer could lead to premature failure or deformation.
Testing and Analyzing Strength Differences
If you’re unsure how orientation affects your own prints, conducting simple strength tests can offer valuable insights.
You can print identical samples in different orientations—flat, upright, and angled—and test them under tension or compression. Many makers use basic tensile testing rigs or even simple weights to compare break points.
Common parameters include:
- Tensile strength: Resistance to pulling forces.
- Flexural strength: How much bending the part can handle before snapping.
- Compressive strength: Ability to resist deformation under load.
Additionally, several 3D modeling and slicing software tools now allow stress simulation, helping predict weak points before printing. This approach saves time, materials, and helps refine future designs.
Conclusion: Mastering Print Orientation for Reliable 3D Parts
Mastering print orientation is about understanding how each axis interacts with your chosen material and the forces your part will endure. A small adjustment—like laying a model flat instead of upright—can dramatically enhance filament strength and longevity. Whether you’re printing mechanical tools, prototypes, or intricate designs, taking the time to plan your orientation ensures your parts perform as expected.
In 3D printing, strength isn’t just built layer by layer—it’s designed through smart orientation choices