
ASA filament has quickly become a go-to choice for professionals and makers who need durable, UV-resistant, and weatherproof prints. However, printing ASA successfully can be a real challenge—especially when it comes to avoiding layer cracks and achieving a perfectly smooth finish. In this 2026 expert guide, we’ll dive into the best strategies, print settings, and post-processing techniques to help you create flawless ASA prints every single time.
Understanding Why Layer Cracks Occur in ASA Prints
Material Characteristics of ASA
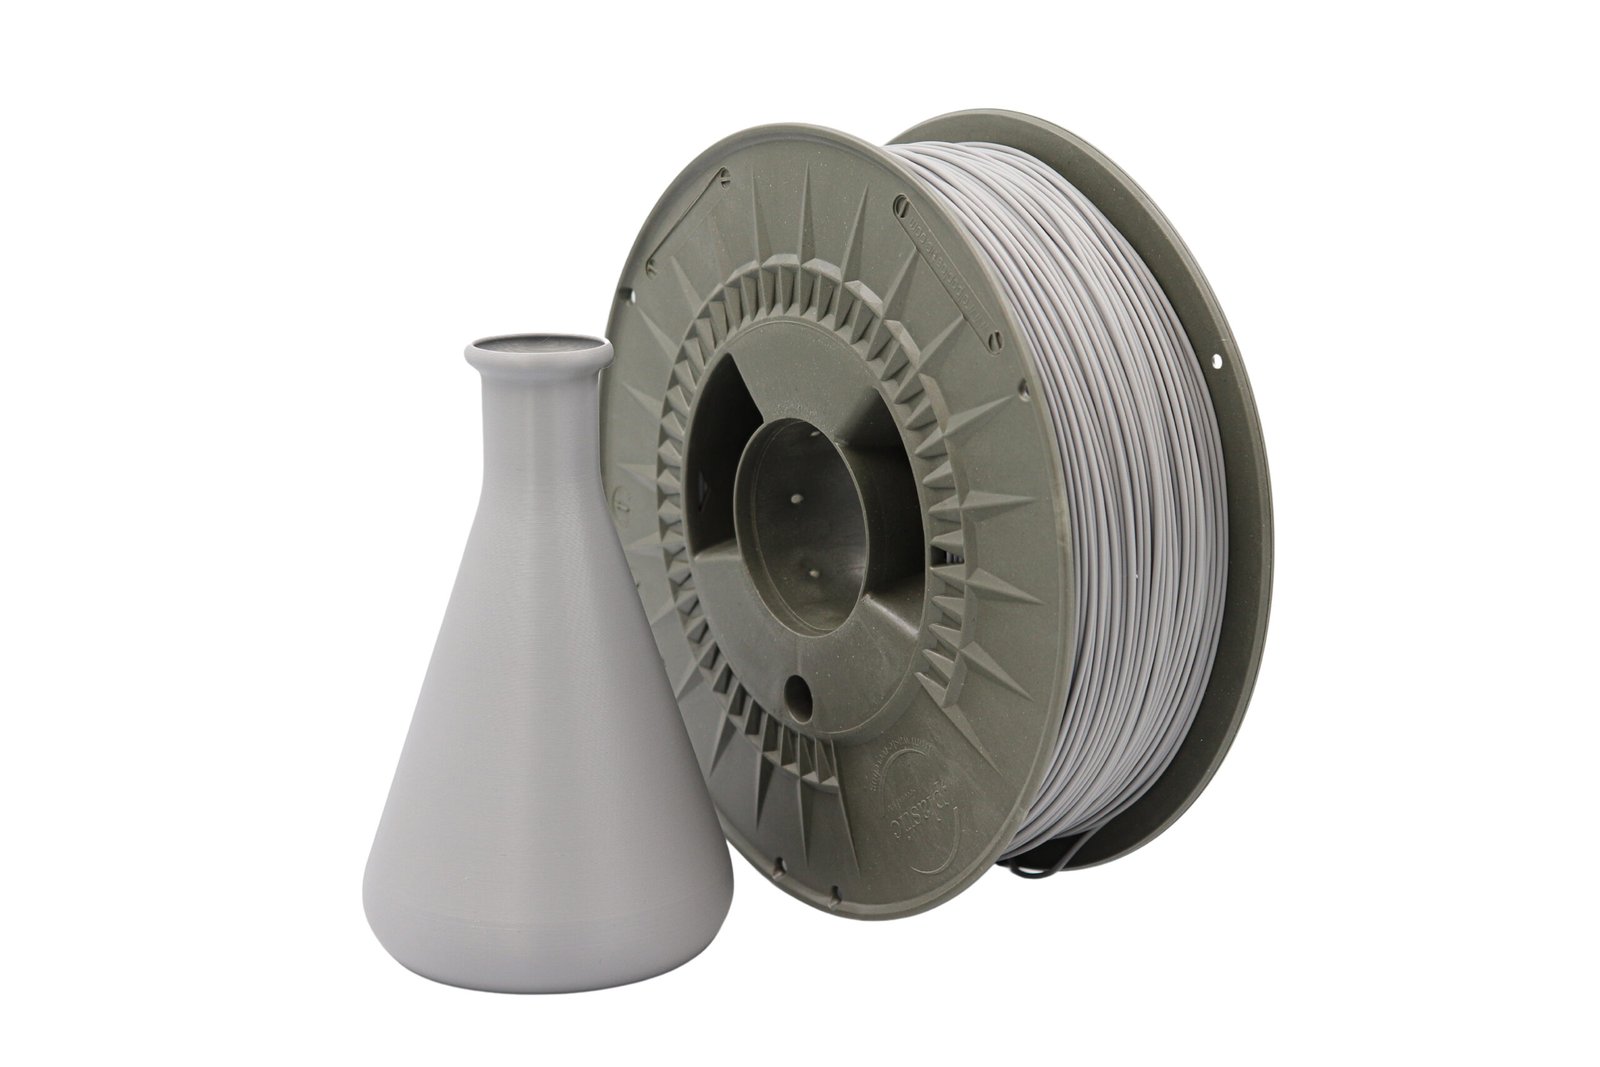
ASA (Acrylonitrile Styrene Acrylate) is a high-performance thermoplastic known for its strength, heat resistance, and UV stability. Unlike PLA or PETG, ASA requires higher extrusion temperatures and careful thermal management. This makes it ideal for outdoor applications but more sensitive to temperature fluctuations. When improperly managed, the layers fail to fuse correctly—causing visible cracks that weaken the print.
Stress Factors During Printing
One of the biggest causes of layer cracks in ASA prints is thermal stress. As the material cools too quickly, it shrinks unevenly, creating internal tension between layers. The higher the print’s height, the more these stresses accumulate. Without proper heat consistency, you’ll see delamination or gaps, especially in larger or tall parts.
Environmental & Machine-Related Causes
Your printing environment can make or break your ASA results. Drafts from open windows, air conditioning, or even room temperature changes can cool layers unevenly. Additionally, printing ASA without an enclosure or with an unheated chamber significantly increases cracking risk. Dirty build plates or moisture in the filament further reduce adhesion between layers, compounding the issue.
Prep Work: Ensuring Ideal Conditions Before Printing
Filament Storage and Drying
ASA is hygroscopic—it absorbs moisture from the air. Before printing, make sure to store your ASA filament in a sealed container with desiccants. If the filament has been exposed to humidity, dry it at around 80°C for 4–6 hours. Moisture trapped inside the filament leads to bubbling, poor adhesion, and weak layer bonding.
Printer Setup and Environment
A stable, draft-free environment is key to preventing layer cracks. Use an enclosed printer or build your own enclosure using heat-resistant materials. Ensure your bed is perfectly leveled and cleaned with isopropyl alcohol before each print. Also, maintain a warm ambient temperature (at least 25°C) to minimize sudden cooling.
Optimizing First Layer and Adhesion
The first layer is the foundation of your print. A well-bonded base prevents movement, which is often the first step toward layer separation. Use a bed temperature of around 100–110°C and apply a thin adhesive layer like ABS juice, Magigoo, or glue stick. Adding a brim or raft helps secure the model and reduces corner lifting.
Recommended Print Settings to Minimize Layer Cracks
Nozzle and Bed Temperature Ranges
ASA typically performs best with nozzle temperatures between 240–260°C and a bed temperature around 100°C. Maintaining consistent heat ensures solid layer bonding throughout the print. If you notice cracks, slightly increase the nozzle temperature to improve fusion.
Cooling Fan Usage and Print Speed
Turning off or minimizing the part cooling fan is essential for ASA. Cooling too quickly hardens the top layer before the next one can bond properly. Keep the fan at 0–10% and print at moderate speeds (40–60 mm/s) to give each layer enough time to adhere firmly.
Layer Height, Shells, and Infill Considerations
Thicker layers (0.2–0.3 mm) generally provide stronger adhesion since there’s more surface contact area. Combine this with at least 3 perimeters (shells) to reinforce wall strength. For functional parts, increase infill density to 30–40% for better internal stability and reduced risk of cracks.
Use of Enclosure and Heated Chamber
An enclosure traps heat and prevents thermal shock between the print layers. If your printer lacks a built-in heated chamber, you can use insulation panels or even an enclosure made from acrylic sheets. Keeping internal temperatures around 45–60°C dramatically decreases layer cracking and warping.
Post-Processing Techniques for Achieving Smooth Finishes
Vapor Smoothing and Its Suitability for ASA
Although ASA isn’t as easily smoothed as ABS, vapor finishing is possible using methyl ethyl ketone (MEK) or acetone in controlled conditions. Always perform this in a well-ventilated space and use protective gear. The process slightly melts the outer surface, fusing layers and giving a glossy finish.
Sanding, Filling, and Polishing
If you prefer manual post-processing, start by wet sanding with 200-grit sandpaper, then gradually move to 800 and 1200 grit for a satin effect. For visible seams or imperfections, apply a thin layer of filler primer before sanding again. Polishing with fine compound or plastic polish brings out a professional sheen.
Painting and Final Finishing Touches
ASA’s smooth surface makes it perfect for painting. After sanding and priming, use acrylic or automotive-grade spray paints for long-lasting finishes. For outdoor parts, apply a UV-resistant clear coat to maintain color and gloss.
Troubleshooting Common Issues and How to Fix Them
Detecting Early Signs of Layer Cracking
If cracks appear mid-print, pause and increase nozzle or chamber temperature slightly. Examine layer adhesion—if the gaps are visible between outer walls, consider slowing print speed or reducing cooling.
Warping and Its Impact on Cracks
Warping pulls the corners of prints upward, creating stress that can cause cracks further up. To prevent this, ensure excellent bed adhesion, use a brim, and avoid drafts.
Surface Finish Imperfections Beyond Cracks
Layer lines, roughness, or visible seams can often be mitigated by slightly increasing print temperature or reducing print speed. Post-processing with sanding and vapor smoothing also minimizes these imperfections.
Advanced Tips for Professional-Grade ASA Prints
Material Blending and Hybrid Approaches
Some ASA variants are blended with other polymers to enhance layer adhesion or surface smoothness. Experiment with premium-grade ASA or ASA+ blends designed for consistent finishes.
Fine-Tuning with Micro-Adjustments
Once you’ve found the ideal base settings, make micro adjustments for each model. Adjust flow rate by ±2% or temperature by 2–5°C to fine-tune bonding quality. Documenting your settings ensures consistency in future prints.
Scaling Up: Larger Parts and Outdoor Applications
Large ASA prints are prone to thermal gradients. Split big models into smaller sections, print separately, and bond them using acetone welding. For outdoor parts, ensure even wall thickness to reduce uneven cooling and surface stress.
Conclusion
Getting smooth ASA finishes without layer cracks isn’t just about luck—it’s about precision, preparation, and patience. By understanding the filament’s behavior, controlling your print environment, and applying the right settings, you can achieve strong, glossy, professional-grade ASA prints every time. Explore premium ASA filaments and finishing accessories at FilaLab.shop to take your 3D printing projects to the next level.