
Introduction
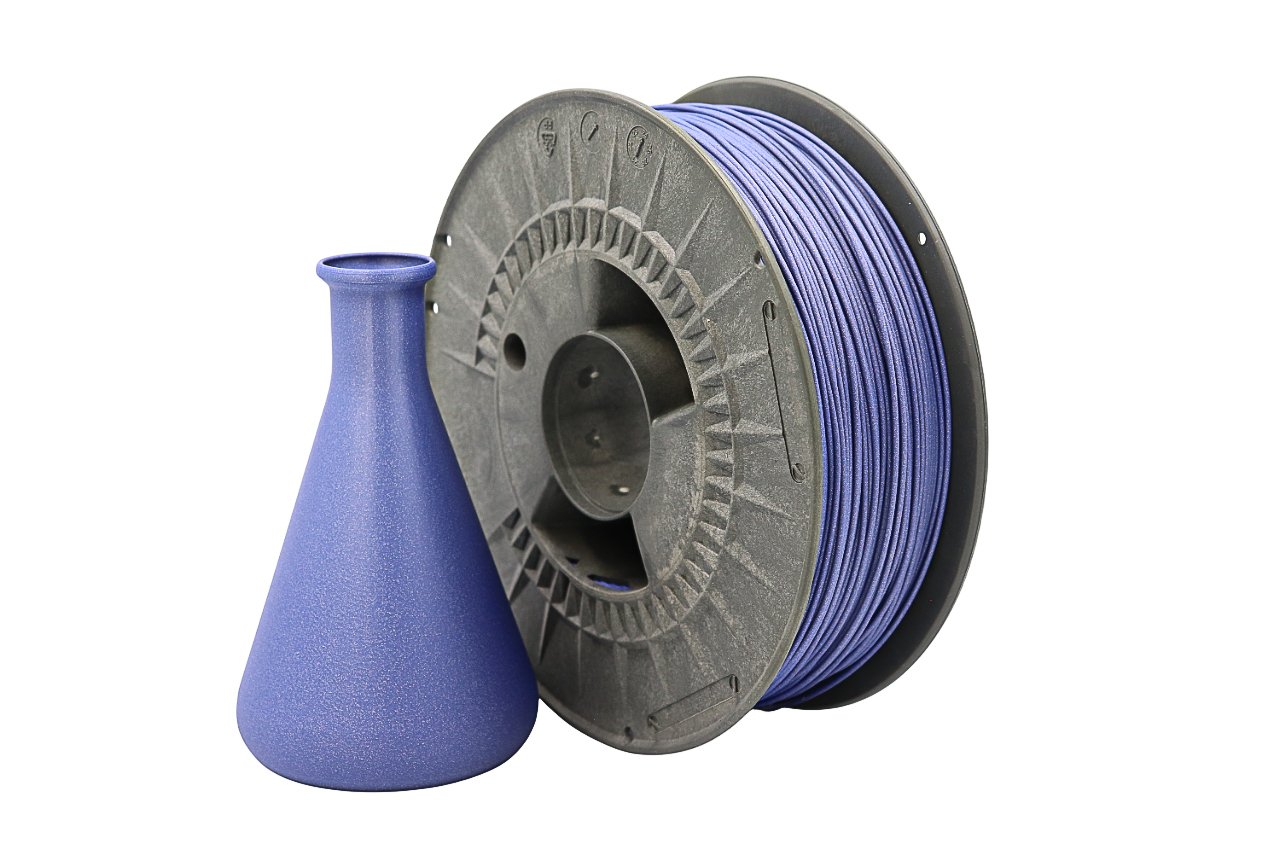
ASA filament is often considered the professional’s choice for outdoor and engineering-grade 3D prints. It’s strong, UV-resistant, and perfect for parts that need to endure weather, heat, and time. But getting ASA right can be tricky — warping, layer separation, and poor bed adhesion can ruin a print if you’re not prepared. In this guide, you’ll learn everything you need to know about printing ASA filament successfully, from temperature settings to troubleshooting tips that guarantee professional-quality outcomes.
Why ASA Filament Is the Go-To Choice for Professionals
ASA, or Acrylonitrile Styrene Acrylate, is a modified version of ABS that retains strength while improving UV and weather resistance. It’s particularly favored in automotive, marine, and outdoor applications because it doesn’t yellow or weaken over time. Compared to ABS, ASA also offers better chemical stability, making it suitable for functional prototypes and end-use parts. For 3D printing enthusiasts aiming to upgrade their material game, ASA is the bridge between durability and print precision.
Key Benefits of ASA Filament
ASA provides high impact resistance, excellent layer adhesion, and a smooth matte surface finish. Its natural UV stability means prints stay vibrant even under long sun exposure — ideal for outdoor fixtures, vehicle parts, and architectural models.
ASA vs ABS and PETG
While ABS is cheaper and easier to find, ASA wins in durability and appearance retention. PETG, on the other hand, is simpler to print but less heat-tolerant. If you need a balance between performance and visual quality, ASA is your best option.
Real-World Applications
From drone casings to signage and mechanical prototypes, ASA is increasingly used in professional environments where toughness and precision matter.
Understanding the Technical Basics
ASA filament requires a controlled printing environment. Unlike PLA or PETG, it’s sensitive to temperature fluctuations, which can lead to warping.
Recommended Printing Temperatures
- Extruder Temperature: 240–260°C
- Bed Temperature: 100–110°C
- Enclosure Temperature: Ideally 50–60°C for consistent results
Keeping your printer enclosed ensures stable heat distribution, preventing layer splitting and curling.
Bed Adhesion and Surfaces
To prevent warping, apply an adhesive layer such as Magigoo, PVA glue, or ABS slurry on a glass or PEI surface. A heated bed is non-negotiable for ASA, as it minimizes first-layer lift.
Cooling Settings
Turn off part cooling fans or set them below 20%. Sudden cooling causes layer separation. Controlled airflow ensures smooth surface finishes and prevents brittle edges.
Optimal Print Settings for ASA
Printing with ASA requires patience and precision.
Print Speed and Layer Height
A layer height of 0.2mm with a speed between 40–60mm/s delivers the best results. Slower speeds improve adhesion between layers and enhance strength.
Retraction and Flow Rate
Use moderate retraction (4–6mm) and standard flow (100–105%) to avoid stringing while maintaining proper extrusion.
Enclosure and Ventilation
Although an enclosure stabilizes print temperature, proper ventilation is equally essential — ASA emits fumes similar to ABS, so ensure your workspace is well-ventilated or filtered.
Troubleshooting Common ASA Printing Issues
Warping and Bed Adhesion Problems
If your ASA print warps, check that your bed is properly leveled and preheated to at least 100°C. Increasing brim width and using an enclosure often solves this problem.
Layer Splitting or Cracking
This happens due to uneven cooling or low nozzle temperature. Increase your print temperature slightly or reduce fan speed to maintain consistent layer bonding.
Surface Imperfections
Stringing and blobs may occur if the nozzle is too hot. Lower your print temperature by 5–10°C or fine-tune retraction settings.
Post-Processing ASA Prints
Post-processing ASA parts can elevate them to a professional finish.
Smoothing and Sanding
ASA can be sanded easily using fine-grit sandpaper. For a glossy effect, use acetone vapor smoothing — but be careful, as overexposure can deform prints.
Painting and Coating
The matte finish of ASA accepts paints well. Use primer first, followed by acrylic-based paints for the best results.
UV and Weather Protection
Although ASA is UV-resistant, applying a clear UV-protective coat can extend outdoor life, especially for parts exposed to extreme sunlight.
Storing and Handling ASA Filament
ASA is hygroscopic, meaning it absorbs moisture from the air. Store it in a dry box or airtight container with desiccant. If your filament has absorbed moisture, dry it at 80°C for 4–6 hours before printing.
Choosing the Right ASA Filament for Your Needs
FilaLab’s ASA filaments are engineered for consistency, strength, and surface precision. When shopping for ASA, look for filament diameter tolerance within ±0.02mm, spool uniformity, and consistent color quality.
Price vs. Performance
Premium ASA filaments often provide better flow and adhesion, reducing print failures. While cheaper options exist, investing in quality pays off through fewer retries and smoother surfaces.
Sustainability and Safety
Modern ASA blends from top manufacturers are eco-conscious and emit fewer fumes. Always check for ROHS and REACH compliance for safe long-term use.
Conclusion
ASA filament stands out as one of the most reliable materials for durable and UV-stable 3D printing. With the right setup — a heated bed, stable enclosure, and optimized cooling — you can achieve professional-grade results suitable for outdoor or industrial applications. As you refine your technique, ASA will reward you with prints that are as functional as they are beautiful.
FAQ
Q1: Can I print ASA without an enclosure?
Technically yes, but you’ll risk warping and cracking. An enclosure is highly recommended.
Q2: Is ASA stronger than PETG?
Yes, ASA generally offers better UV and heat resistance, making it superior for outdoor applications.
Q3: Can I use ASA on an open-frame printer?
Only if you use a draft shield and a well-heated bed; otherwise, prints will warp.