
3D printing has evolved beyond the plastic shine of early prototypes. Today, makers and professionals can produce lifelike, warm, and organic designs using wood filament — a material that brings the essence of nature to your prints. But printing wood textures isn’t as easy as it looks. Improper temperatures, nozzle buildup, or moisture can lead to jams that halt your creative flow. This guide will show you how to 3D print wood textures flawlessly with a wood filament 3D printer, ensuring every layer mimics the look and feel of real timber — without clogging your nozzle.
Why Choose Wood-Like PLA for Textured Prints
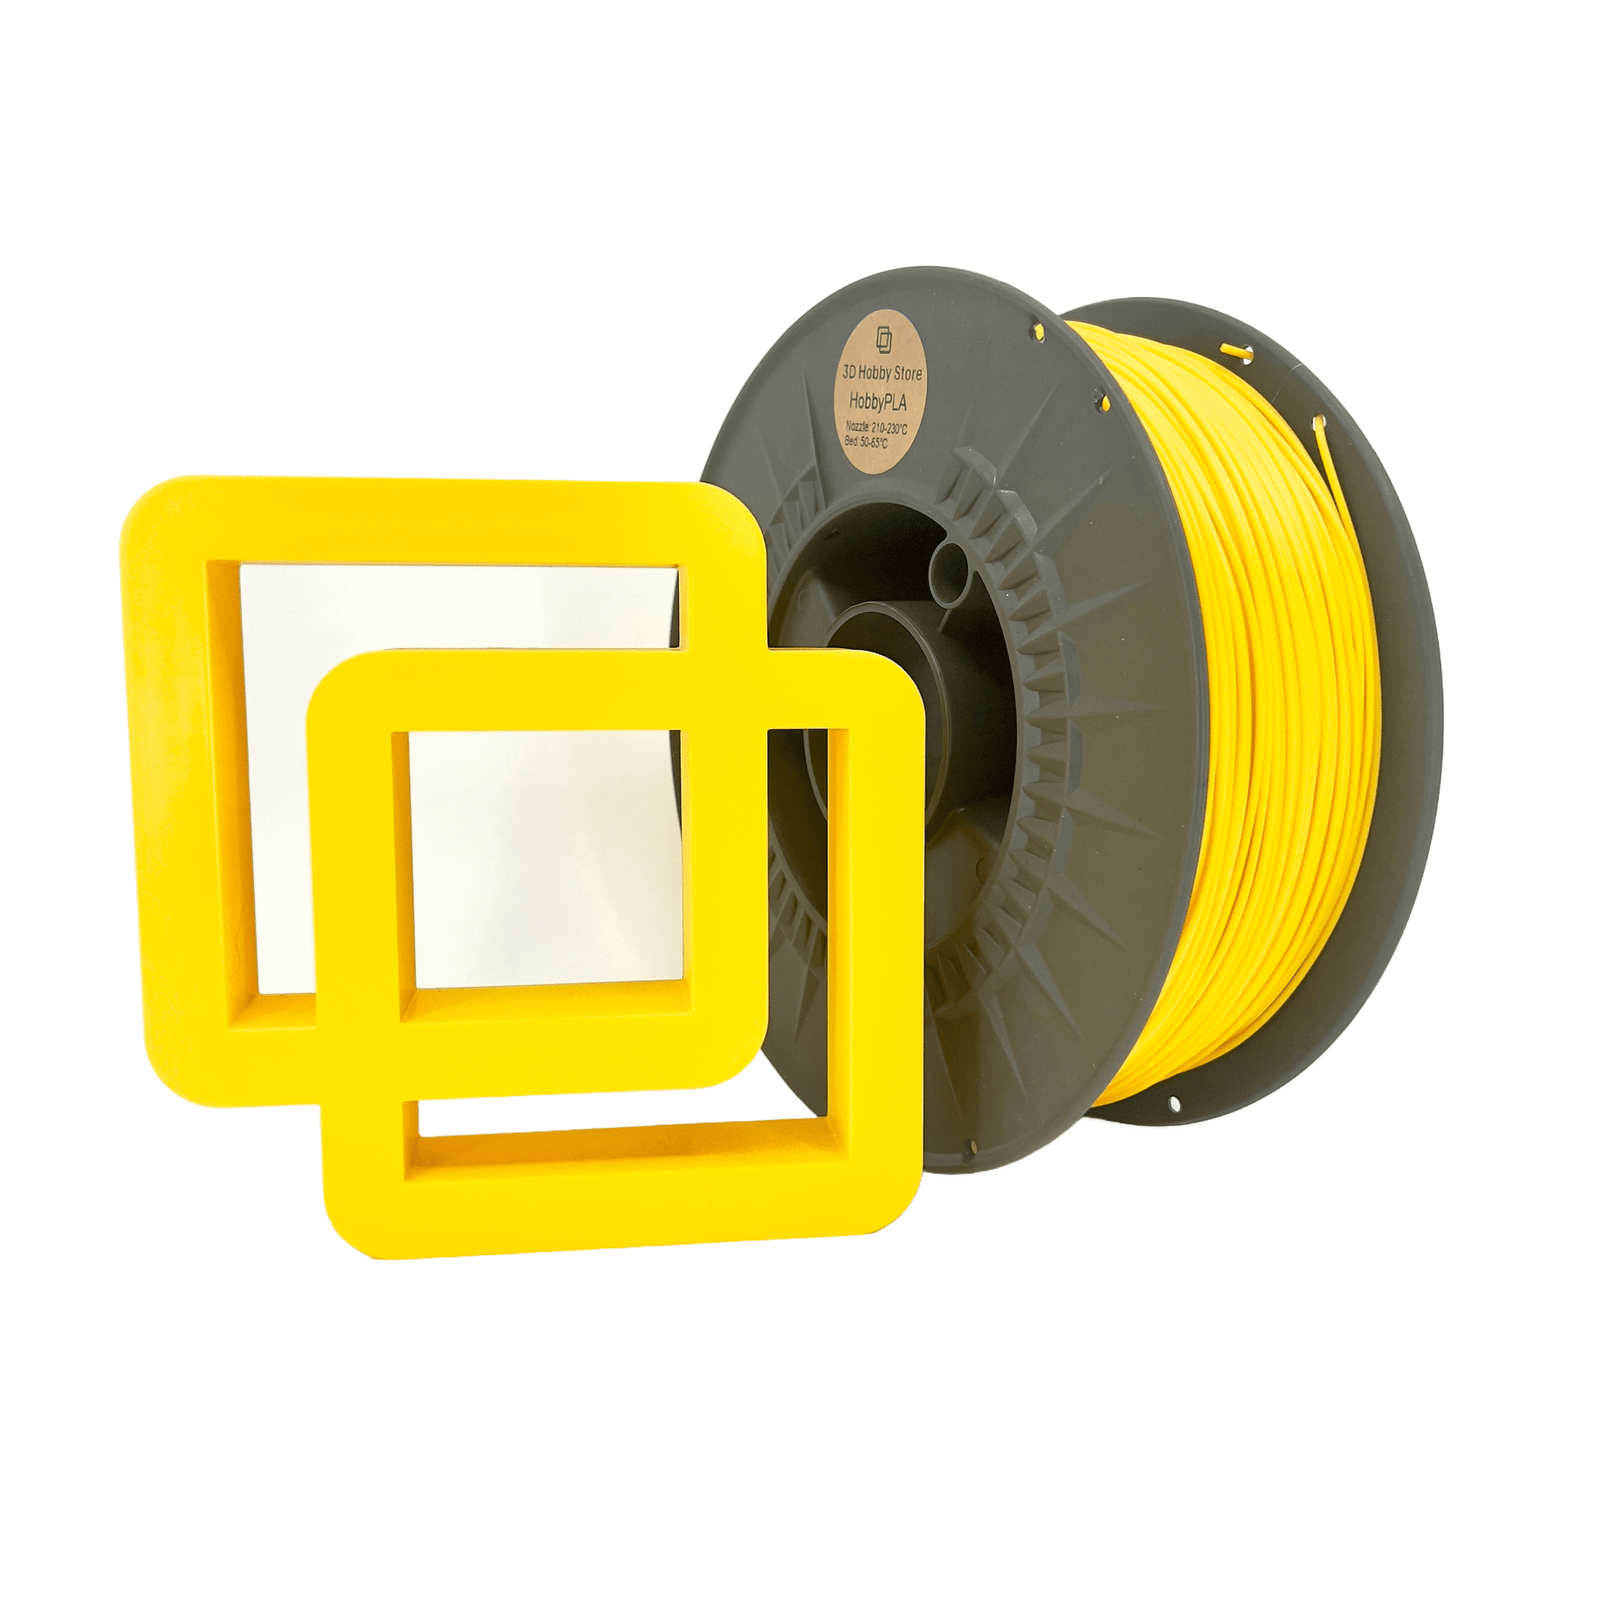
What “wood-like” PLA Fiber Means
Wood-like PLA is a composite filament that blends standard PLA with fine wood particles such as bamboo, cedar, or pine. When used in a wood filament 3D printer, it produces prints that smell like real wood and feature a natural matte finish. Unlike traditional PLA, this hybrid material can recreate the subtle grain lines and soft tones found in carved or sanded wood.
Benefits of Printing Wood Textures
Printing with wood filament offers an authentic visual warmth and tactile quality that plastic can’t achieve. Designers and hobbyists use it for architectural models, sculptures, and furniture prototypes because the results resemble real carved wood. The natural look adds depth to your projects, while the lightweight, biodegradable nature of PLA makes it eco-friendly — a perfect choice for sustainable 3D printing wood projects.
Common Print Issues
However, the embedded wood fibers make this filament more sensitive. Inconsistent extrusion or overheating can cause clogs or burn marks. Knowing how to balance temperature, speed, and airflow will keep your 3D print wood models smooth and detailed.
Preparing Your Printer & Filament for Wood-Like Texture Printing
Filament Selection
Not all wood filament spools are equal. Choose a premium brand that offers consistent wood particle distribution and clear printing parameters. The smoother the particle blend, the lower the risk of clogging your nozzle. Always check that the filament diameter (usually 1.75 mm) matches your wood filament 3D printer specifications.
Printer Hardware Checks
Before starting your next 3D printing wood project, make sure your nozzle is ready. Wood fibers can accumulate inside the hot end, especially with smaller nozzles. A 0.5 mm or 0.6 mm brass or hardened steel nozzle works best, allowing particles to pass freely while maintaining precision. Check your extruder gears for dust buildup — a clean setup ensures steady filament flow.
Proper Storage and Handling
Wood-based filaments absorb moisture, which can cause bubbling or inconsistent layers. Always store your wood filament in an airtight container with silica gel. Drying the filament for 3-4 hours before printing ensures stable extrusion and prevents clogs.
Optimising Print Settings to Avoid Clogs and Achieve Realistic Wood Texture
Temperature Settings
For most wood filament 3D printer setups, nozzle temperatures between 190°C – 220°C deliver excellent results. Higher heat enhances the “burnt wood” tone, while lower settings produce lighter shades. The print bed should be around 50°C for optimal adhesion.
Layer Height and Print Speed
To accentuate grain texture, use a 0.2 – 0.25 mm layer height and moderate speed (40–50 mm/s). Slower speeds reduce friction and the risk of wood dust scorching inside the nozzle — a key tip for clog-free 3D print wood success.
Cooling, Flow, and Retraction
Fine-tuning these parameters minimizes stringing and overheating. Enable part cooling fans, set retraction around 1.5 mm – 2 mm, and keep flow at 95 %–100 %. This balance preserves the natural grain look while ensuring smooth material flow.
Nozzle Size and Material
Use larger nozzles (0.5 mm +) for intricate wood blends. Hardened steel is ideal for durability, though brass gives slightly better thermal conductivity. Regular nozzle cleaning prevents residue accumulation and guarantees flawless 3D printing wood output.
Designing for Wood Texture: Models & Features That Work Best
Ideal Geometry for Realistic Grain
Flat or gently curved surfaces show off the filament’s natural variation best. Layer direction also affects how grain lines appear, so orient your model to mimic real wood planks for the most authentic 3D print wood results.
Avoiding Over-Complex Details
Tiny features and sharp corners can trap fibers and increase clog risk. Simplify small decorative details, and consider using post-processing for fine touches.
Supports and Orientation
For organic wood-like prints, minimize supports — they can leave marks that disrupt the surface texture. Printing objects upright, when possible, emphasizes vertical wood grain lines.
Post-Processing for Realistic Wood Appearance
Sanding and Smoothing
After printing, light sanding brings out a genuine wood surface feel. Use 220-grit sandpaper and move in circular motions to highlight the grain. The result is a tactile finish similar to polished pine or oak.
Staining and Finishing
You can stain or paint your 3D printing wood pieces just like real timber. Apply wood oil, shellac, or water-based varnish to deepen color tones. Always test on a small section first to ensure the finish complements your chosen wood filament type.
Sealing for Longevity
If your prints are decorative or exposed to humidity, a matte sealant can preserve their appearance and protect the surface from moisture absorption.
Troubleshooting & Maintenance
Early Warning Signs
Inconsistent extrusion, popping sounds, or dark spots signal filament buildup or overheating. Stop printing immediately to clean the nozzle and reload the wood filament after checking temperature settings.
Cleaning Routine
After every few prints, run a cleaning filament or cold-pull technique to remove residue. This simple maintenance step will extend the life of your wood filament 3D printer.
Fixing Common Issues
If you experience stringing or gaps, lower the nozzle temperature by 5 °C or slightly reduce retraction. Adjusting these small variables ensures smoother, clog-free results in future 3D print wood sessions.
Showcasing Your Creations
Bring your natural-looking designs to life — from wooden desk organizers to miniature furniture and art sculptures. Post your projects on maker communities or social media to inspire others experimenting with wood filament. Not only will you showcase craftsmanship, but you’ll also prove how versatile 3D printing wood can be when executed with the right care and setup.
Conclusion
Creating wood-like textures through 3D print wood techniques bridges the gap between technology and craftsmanship. With proper preparation, fine-tuned settings, and attention to detail, your wood filament 3D printer can produce organic-looking models that feel as real as they appear. Keep your nozzle clean, your filament dry, and your imagination open — because every print brings you closer to mastering the art of grain.