
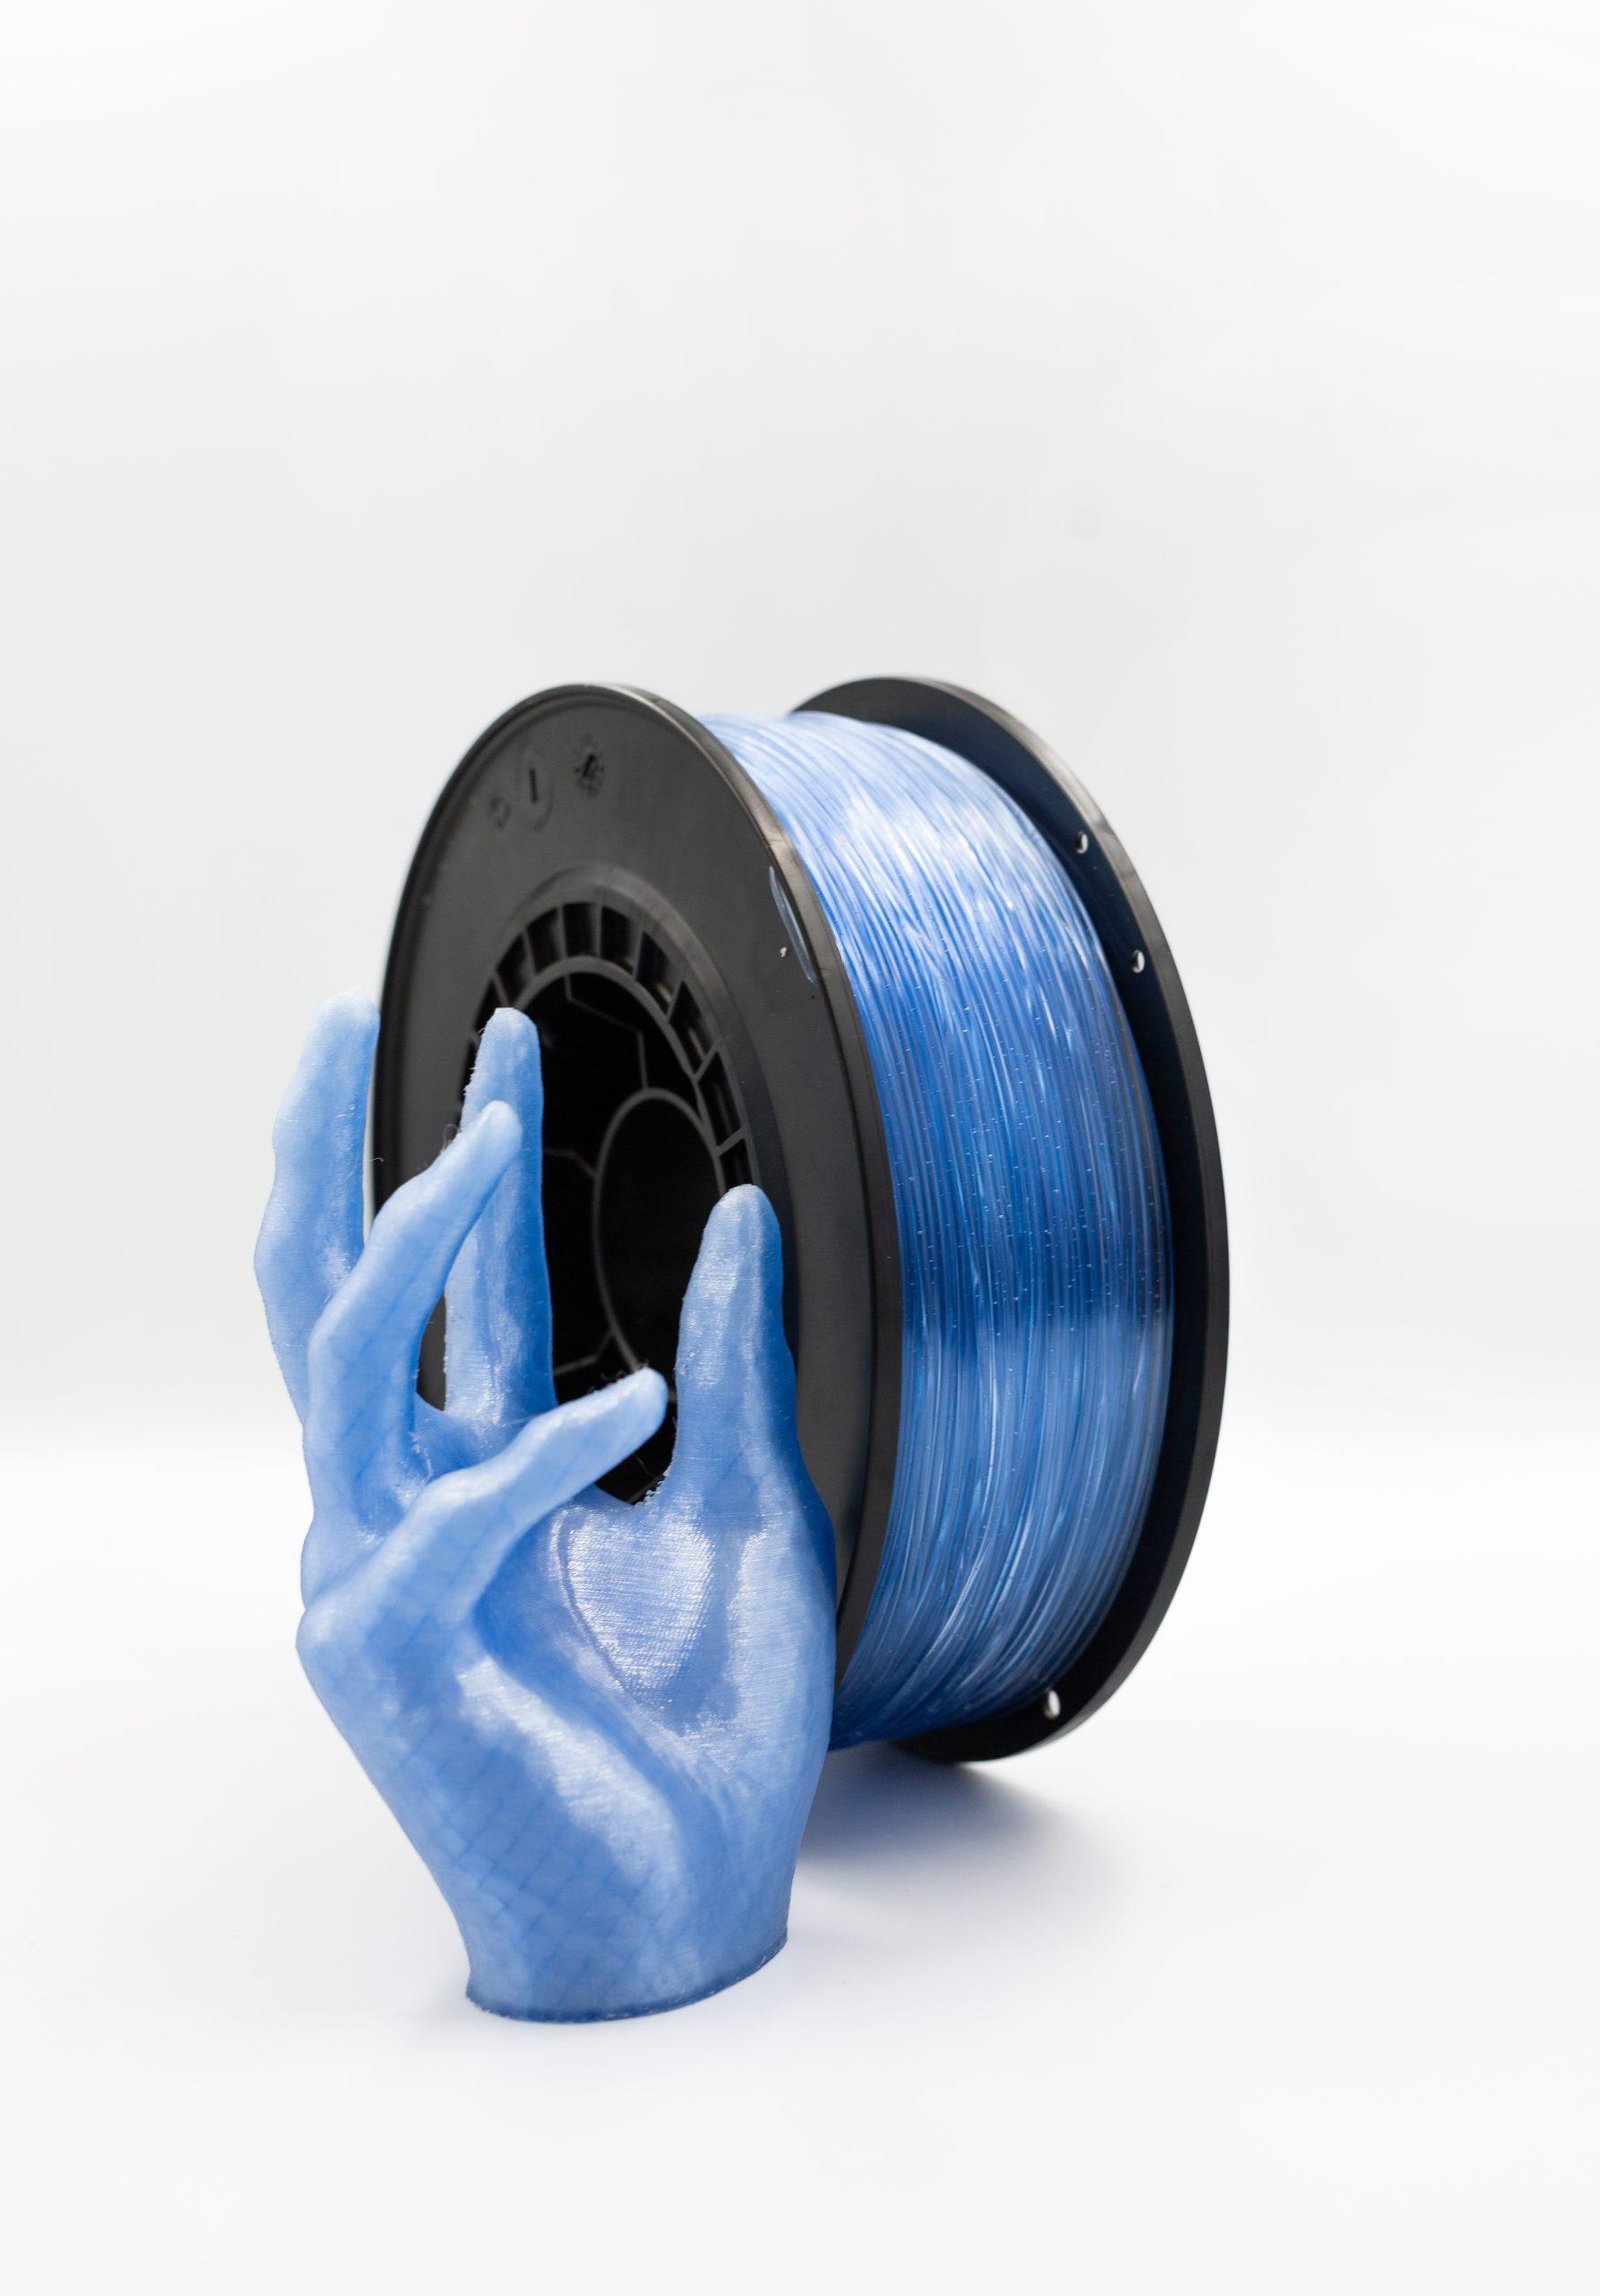
When it comes to 3D printing realistic textures—especially ones that resemble wood grain—most hobbyists and professionals quickly discover that hardware alone isn’t enough. For those aiming to capture the nuances of real wood in their prints, understanding how to achieve this effect is a game-changer. If you’re searching for the fundamentals of wood texture with PLA fiber, you’ll want to check out this guide on getting real wood texture with PLA fiber as a foundation. But for those ready to take their surface realism to the next level, let’s dive into the magic of variable layer width and slicer tricks.
Elevating 3D Prints: The Importance of Grain
Grain isn’t just a buzzword for woodworkers—it’s what gives materials like wood, stone, and even some plastics their unique visual appeal. In 3D printing, replicating this “grain” effect can mean the difference between a basic print and a truly standout, lifelike object. Designers and makers use grain effects to mimic the organic patterns found in nature, resulting in prints that fool the eye and elevate the final product.
Layer Width Demystified: More Than Just a Setting
Every 3D print is built layer by layer, and while most users focus on layer height, the less-discussed layer width plays a crucial role in defining surface quality. Layer width refers to the horizontal breadth of each extruded line of filament. By varying this width—either across a single layer or throughout the print—you can manipulate how light interacts with the surface, simulating the subtle undulations and textures of natural materials.
Many slicing programs set a default, consistent layer width. However, unlocking your slicer’s full potential means learning how to adjust and vary this width, opening the door to richer, more organic surfaces.
Mimicking Nature: How Variable Layer Width Works
Nature doesn’t do uniform. Wood grain, stone veins, and even the lines on a seashell have natural variation. By programming your slicer to vary the extrusion width across the print, you essentially “teach” your printer to lay down material in a more organic, unpredictable pattern—just like in nature.
This technique isn’t only about aesthetics. Adjusting layer width can also impact the strength of the finished part, as well as the tactile quality of the surface, creating a feel that’s much closer to genuine wood or stone.
Slicer Tricks: How to Achieve Variable Layer Width
Ready to try it? Most modern slicers—like PrusaSlicer, Cura, and SuperSlicer—support some form of variable layer width, though the approach varies. Here’s a basic workflow to get you started:
- Choose the Right Slicer: Make sure your slicing software allows for variable extrusion width. PrusaSlicer and Cura are popular, open-source choices that provide these controls.
- Manual Adjustments: Look for “line width” or “extrusion width” settings in your slicer. In PrusaSlicer, for example, you can set different extrusion widths for perimeters, infill, and solid layers.
- Use Modifiers: For more advanced control, use modifiers or “processes” to set different layer widths in specific parts of your model.
- G-Code Tweaks: Advanced users can write custom G-code scripts that vary the extrusion width dynamically—great for simulating irregular grain or knots.
- Test and Iterate: Start with small increments. Too much variation can cause print artifacts, but just enough creates an organic, grainy effect.
Practical Applications: Bringing Grain to Life
Let’s say you’re printing a wood-finish bowl. By increasing the layer width in some sections and narrowing it in others, you’ll create shadows and highlights reminiscent of natural grain. For stone effects, try alternating widths randomly for a weathered look. Experiment with sample files or create your own grain patterns in CAD, then use modifiers in your slicer to apply these widths.
Pro tip: for extra realism, combine variable layer width with specialty filaments (like wood-filled PLA) and post-processing techniques such as light sanding or staining.
Troubleshooting: Common Issues & How to Fix Them
With great power comes a few new challenges. If you see stringing, inconsistent extrusion, or visible seams, try these tips:
- Slow Down: Lower print speeds can help the extruder keep up with width changes.
- Tune Temperatures: Sometimes, variable widths require a slightly higher temperature for smooth flow.
- Watch Your Extruder: Not all hotends or nozzles handle rapid width changes well—experiment and observe results.
If the surface looks too rough or uneven, scale back your width variation. If it’s too subtle, increase the difference between your minimum and maximum widths.
Beyond Looks: Performance Benefits
Variable layer width doesn’t just look good—it can also make parts stronger by varying how layers bond. Infill sections can be printed with wider lines for extra strength, while decorative surfaces get the variable treatment for realism. Just remember: balance is key. Too much variation might impact mechanical properties, so test your settings before printing important functional parts.
Conclusion: Explore, Experiment, and Share
Embracing variable layer width in your slicer is one of the best ways to push your 3D printing skills further and achieve surfaces that look and feel like natural grain. Experiment with your favorite slicer, document your results, and don’t be afraid to try new things. For more tips and inspiration, check out community forums, slicer documentation, and guides like how to get real wood texture with PLA fiber.
By blending technology and creativity, you’ll soon be printing pieces that not only perform well—but truly impress with their organic, natural look