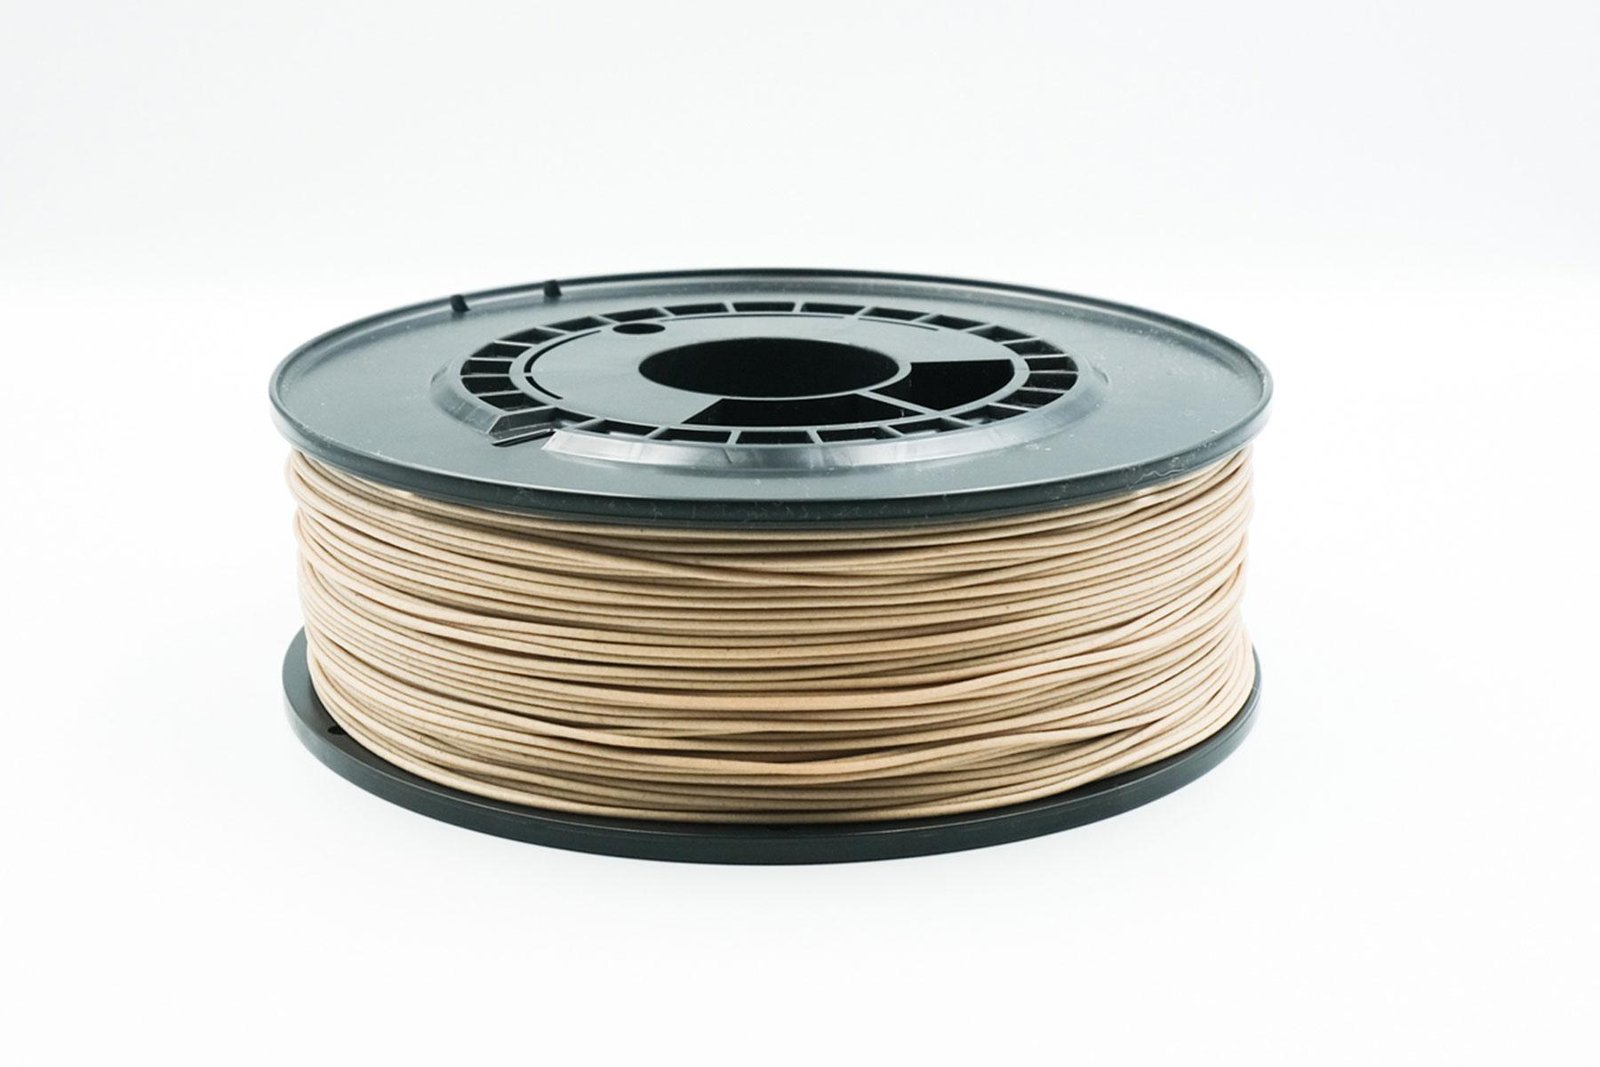
PCTG has earned its place among popular 3D printing filaments for its toughness, clarity, and chemical resistance. Yet anyone who’s ever printed with PCTG knows it has one common annoyance: stringing. You finish a print, remove it from the bed—and it’s decorated with a spiderweb of fine plastic threads between gaps or overhangs. The culprit? Retraction settings that need tuning.
If you’re aiming for glossy, professional prints without the “fuzz,” this guide will help you tune your retraction settings for PCTG and say goodbye to stringing.
Why Stringing Happens with PCTG
Stringing occurs when melted filament oozes out of the nozzle during travel moves, leaving behind fine hairs. PCTG, being slightly more flexible and sticky than classic PETG or PLA, is particularly prone to this. The higher extrusion temperatures required for PCTG also make it more likely to drip or ooze, especially if your retraction settings aren’t spot-on.
Retraction Basics: What You Need to Know
Retraction is a slicer-controlled movement where the extruder pulls filament backward before the nozzle travels across open spaces. The idea is simple: retracting filament helps relieve pressure and prevents molten plastic from leaking during non-print moves. The key retraction parameters are:
- Retraction Distance: How far filament is pulled back.
- Retraction Speed: How quickly the extruder pulls it back.
- Minimum Travel Distance: The shortest distance a nozzle must travel before retracting.
- Extra Restart Distance: How much extra filament is pushed when resuming a print move.
Get these settings right, and you’ll dramatically reduce stringing.
Optimal Retraction Settings for PCTG
There’s no “one-size-fits-all” for retraction—your printer and even your spool of PCTG can make a difference—but here are strong starting points:
- Direct Drive Extruder:
- Retraction Distance: 1.0 – 2.5 mm
- Retraction Speed: 25 – 40 mm/s
- Bowden Extruder:
- Retraction Distance: 3.5 – 6.0 mm
- Retraction Speed: 35 – 60 mm/s
For PCTG, you’ll usually want to err on the higher side for distance and a moderate speed to avoid grinding the filament.
Step-by-Step: Tuning Retraction to Beat Stringing
- Start Clean:
Ensure your nozzle is clean and your PCTG is properly dried (moist filament always increases stringing). - Baseline Settings:
Load your slicer’s default retraction settings for PETG or start with the numbers above. - Print a Stringing Test Model:
Use a “retraction tower” or “stringing test” model. These force the printer to make many travel moves between posts, exaggerating stringing issues so you can spot changes. - Adjust Retraction Distance:
Increase the distance in 0.5 mm increments if you still see strings. If distance is too high, you might get jams or “blobs” at the start of a print move—dial it back. - Fine-Tune Retraction Speed:
If you see strings despite increasing distance, bump up the speed. Too fast can cause grinding; too slow won’t pull filament quickly enough. For most PCTG, 30–45 mm/s is ideal. - Check Minimum Travel:
Set a reasonable minimum travel distance (e.g., 1.5 mm) to avoid unnecessary retractions on short hops. - Repeat and Test:
Keep tweaking and reprinting your test model until strings are gone and surfaces are smooth.
Additional Factors That Affect Stringing
Retraction isn’t the only setting in play. For the cleanest prints:
- Lower Print Temperature:
Try reducing nozzle temp by 5–10°C at a time; hotter filament is more prone to oozing. - Increase Travel Speed:
The faster your nozzle moves between gaps, the less time for drips to form. - Boost Cooling:
More cooling fan speed helps solidify filament faster, reducing the chance for ooze. But be careful—too much fan can cause layer adhesion problems on tall or complex prints.
Troubleshooting: When Stringing Just Won’t Quit
- Still seeing strings? Double-check that your PCTG is completely dry. Even fresh spools can absorb moisture.
- Getting blobs after travel? You might have too much retraction or a high extra restart distance—reduce these gradually.
- Seeing gaps or under-extrusion? Retract less, and make sure your extruder isn’t slipping.
Recommended Test Models and Tools
For best results, download a free retraction tower or stringing test model from platforms like Thingiverse or Printables. Many slicers (like PrusaSlicer or Cura) also have built-in calibration patterns that let you try multiple retraction settings in one print.
Conclusion: Your Path to Clean PCTG Prints
Stringing is a common hurdle for PCTG, but with a systematic approach to tuning retraction settings—and attention to print temperature, travel speed, and cooling—you can get crisp, professional results. Each printer and spool is unique, so don’t be afraid to experiment. Soon, you’ll have flawless, clear PCTG prints with not a string in sight.

