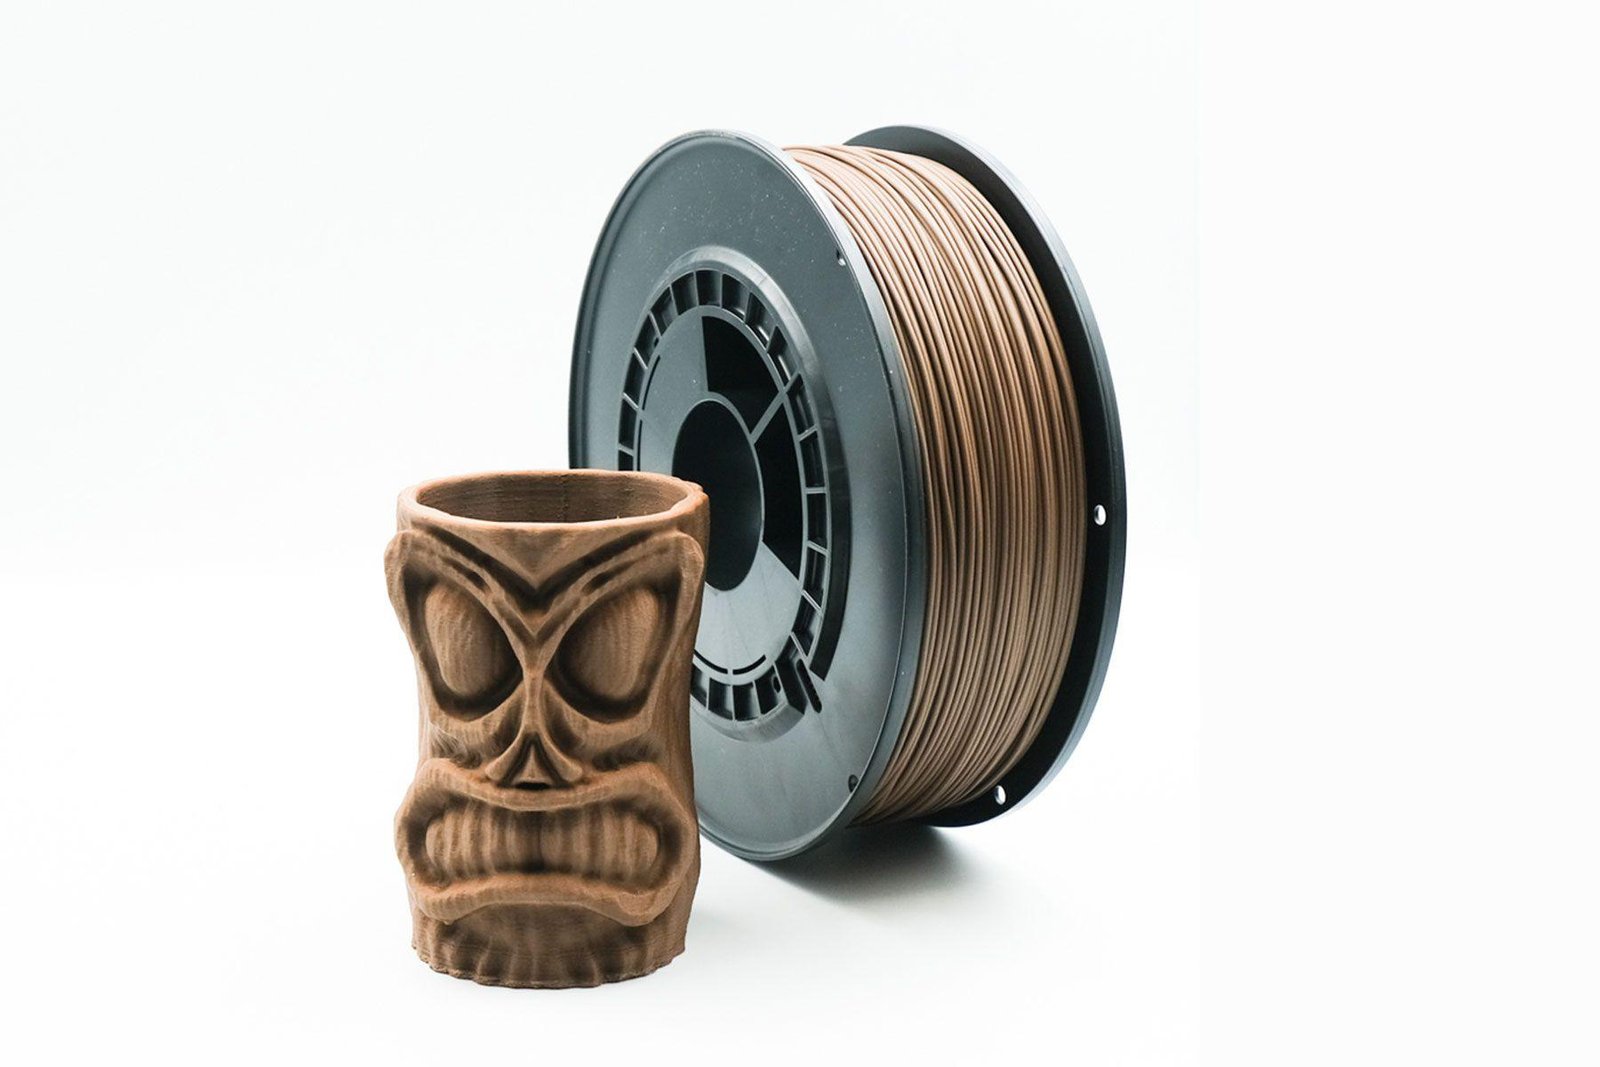
Transparent PCTG has quickly gained popularity among 3D printing enthusiasts and professionals for its impressive blend of clarity, toughness, and ease of use. But when it comes to creating models with a dazzling, glass-like sheen, many find themselves hitting roadblocks—ending up with prints that are more foggy than fabulous. Achieving a truly glossy finish with transparent PCTG isn’t magic; it’s the result of careful planning, precise settings, and the right finishing techniques. Here’s your comprehensive guide to mastering that coveted high-gloss look.
Understanding PCTG: The Material Behind the Shine
PCTG (Polycyclohexylenedimethylene Terephthalate Glycol) is part of the same family as PETG but offers improved clarity and impact resistance. Unlike some filaments that turn cloudy or yellow after printing, transparent PCTG maintains a crystal-clear appearance, making it ideal for display pieces, functional prototypes, and applications where optical quality matters. Its unique molecular structure allows it to withstand stress and heat while remaining clear—two factors that are crucial for glossy prints.
Preparing for Success: Printer and Environment
Before you even load your spool of PCTG, set yourself up for success with the right environment and hardware. A clean, dust-free workspace helps keep contaminants off your prints. Ensure your printer’s enclosure is free from drafts and excess humidity; PCTG, like most clear filaments, can be sensitive to ambient moisture, which can lead to bubbles and haziness in your prints.
Choose a 3D printer with a direct-drive extruder if possible—this provides more precise extrusion and helps avoid stringing. A hardened or polished nozzle (0.4 mm or 0.6 mm) will ensure smooth material flow. For the build plate, glass or PEI sheets work well, offering a flat and glossy surface that complements the filament’s properties. Preheat your bed and nozzle thoroughly to maintain consistent temperatures throughout the print.
Dialing in Print Settings for Gloss
Getting a glossy finish starts with your slicer settings. Begin with the manufacturer’s recommendations, but don’t be afraid to tweak for perfection:
- Layer Height: Lower layer heights (0.1-0.15 mm) yield smoother surfaces and fewer visible lines, which is essential for achieving a glass-like finish.
- Print Speed: Slow and steady wins the race. Printing at slower speeds (25-35 mm/s) allows each layer to fuse more evenly, reducing micro-roughness.
- Nozzle & Bed Temperature: Transparent PCTG typically prints well at 240-260°C for the nozzle and 70-90°C for the bed. Consistency is key; avoid sudden fluctuations.
- Cooling Fan: Use minimal cooling or disable it entirely for the outer walls. This encourages layer fusion and boosts surface gloss, though it may slightly affect overhang quality.
Calibrate your flow rate to avoid over- or under-extrusion. Excess material can create blobs, while insufficient flow can leave gaps and a matte finish.
Mastering Post-Processing: The Real Secret to Shine
While perfect print settings set the stage, post-processing unlocks true brilliance:
- Wet Sanding: Once your print has cooled, gently wet sand the surface starting with 800-grit sandpaper, moving up through 1000, 1500, and even 2000-grit. Keep the surface and sandpaper wet to avoid scratches.
- Polishing Compounds: After sanding, use a plastic polish or automotive headlight restoration kit. Apply with a soft microfiber cloth, rubbing in small circles until the gloss emerges.
- Flame Polishing: For those comfortable with advanced techniques, a quick pass with a small butane torch can reflow the outer layer, smoothing micro-imperfections and dramatically boosting shine. Caution: move the flame quickly and never linger, as too much heat can warp or yellow the print.
- Clear Coatings: Finish your model with a clear acrylic spray for long-lasting shine and fingerprint resistance. Test the spray on a scrap piece first to ensure compatibility.
Troubleshooting: Solving Common Gloss Issues
Achieving a flawless, glossy finish can require a little troubleshooting. If your prints look cloudy or dull, first check your filament—it may have absorbed moisture. Dry PCTG in a filament dryer or oven at 60°C for 4-6 hours before printing. Stringing and blobs are often the result of excessive nozzle temperature or poor retraction settings; fine-tune these to minimize artifacts.
For models with visible layer lines, revisit your layer height and consider increasing the number of perimeters. Sometimes, simply orienting your print to minimize steep overhangs and maximize smooth outer walls can make a world of difference.
Display and Maintenance: Keeping That Gloss Alive
Once you’ve achieved a stunning finish, showcase your work under bright, diffuse lighting to highlight its clarity. Keep your glossy PCTG prints clean by dusting with a soft brush or gently wiping with a microfiber cloth. Avoid harsh chemicals, which can dull the surface or introduce streaks.
Conclusion
Creating a brilliant glossy finish with transparent PCTG is both an art and a science. With careful material handling, dialed-in printer settings, and patient post-processing, you can transform your 3D prints into showstopping, glass-like creations. Don’t hesitate to experiment—sometimes the best shine comes from trying new techniques and refining your approach. Share your glossy masterpieces with the community and inspire others to push the boundaries of what’s possible with transparent PCTG.

