
3D printing has exploded in popularity, and with it, new filament materials have come onto the scene—each offering its own strengths and quirks. If you’re ready to move beyond the basics and are considering PCTG for your next project, you’re in the right place. Printing with PCTG filament for the first time can feel a little intimidating, but with the right guidance and a few simple tweaks to your routine, you’ll unlock a material that combines ease-of-use with impressive durability. Here’s how to get started, step by step.
What is PCTG Filament and Why Use It?
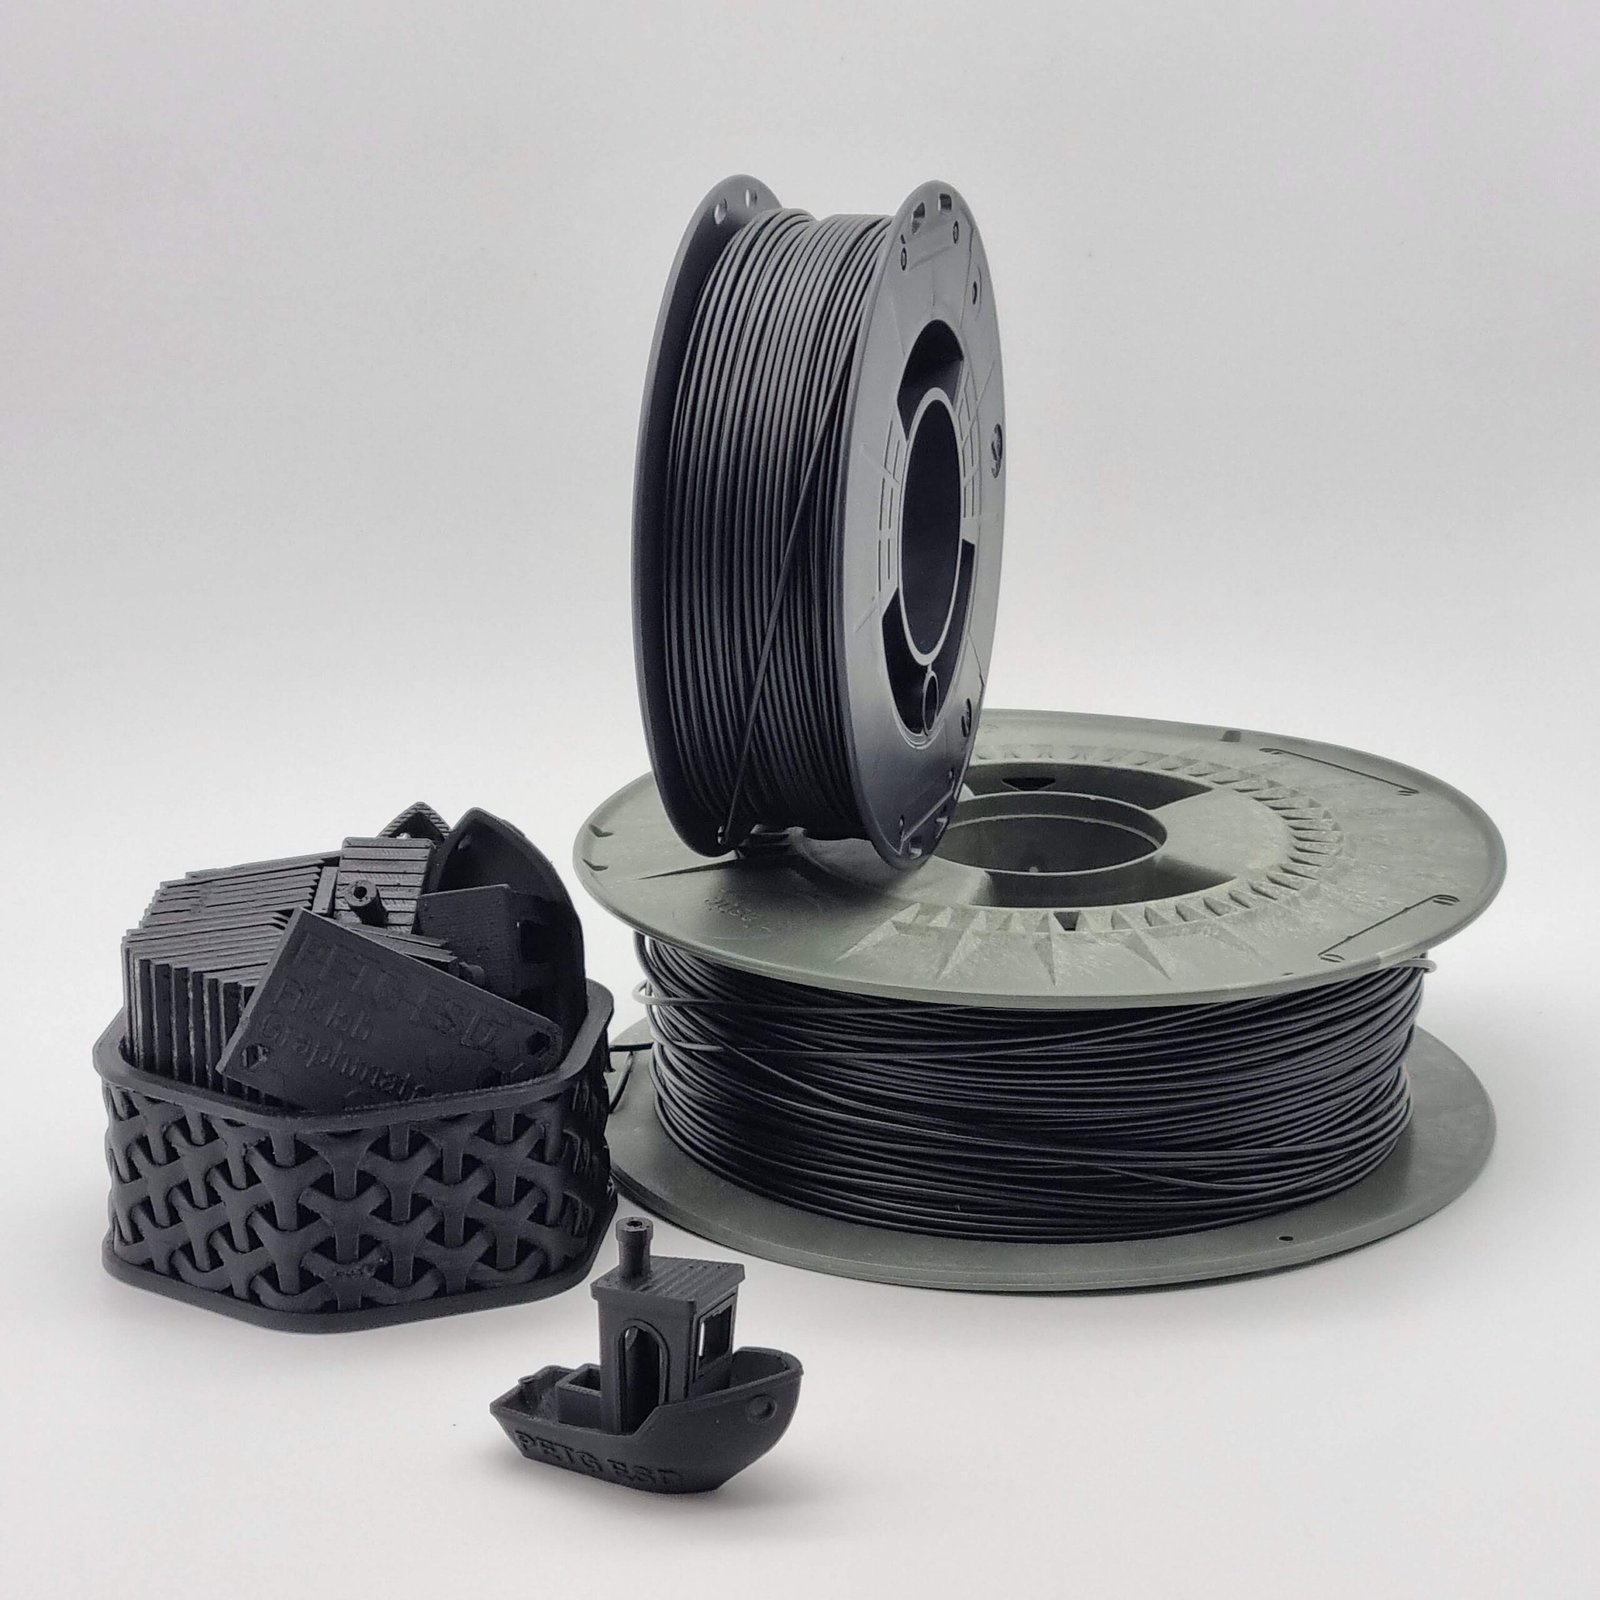
PCTG, short for polycyclohexylenedimethylene terephthalate glycol-modified, is part of the same family as PETG—a filament many makers already know and love. But what sets PCTG apart is its higher impact resistance, greater clarity, and improved chemical stability. This makes it an excellent choice for prints that need to be tough, transparent, and reliable.
For first-time users, PCTG’s key benefits are its balance between strength and printability. It’s less brittle than PLA and more forgiving than ABS, with minimal warping and better resistance to cracking. PCTG is widely used for functional parts, protective cases, bottles, and any application requiring both clarity and durability.
Preparing Your Printer for PCTG
Before diving in, check your 3D printer’s specs. PCTG prints best at nozzle temperatures between 240°C and 260°C, and bed temperatures between 70°C and 90°C. Ensure your hotend can safely handle these temperatures. A heated bed is strongly recommended—cold beds often cause adhesion problems and warping.
If your printer has an enclosure, use it! While PCTG is more forgiving than ABS, it still appreciates a draft-free environment, especially for larger or more complex prints. Additionally, make sure your build surface is clean. PEI sheets, glass with a light layer of glue stick, or BuildTak work well for PCTG.
Essential Print Settings for PCTG
Dialing in your print settings is crucial for a smooth first experience. Here’s what most users find successful:
- Nozzle temperature: 240°C–260°C
- Bed temperature: 70°C–90°C
- Print speed: 30–60 mm/s (a bit slower than PLA for better results)
- Layer height: 0.2 mm is a good starting point
- Cooling fan: Off or very low—too much cooling can cause layer separation
- Retraction: Slightly less than PLA to avoid stringing
Start with these settings, but don’t be afraid to tweak them based on your printer and the results you see.
Handling and Storing PCTG Filament
Like other glycol-modified filaments, PCTG absorbs moisture from the air, which can cause print quality issues such as bubbling or poor layer adhesion. Always store your filament in a dry box or sealed container with silica gel packs when not in use. If your filament feels or looks damp, you can dry it in a filament dryer or an oven at around 60°C for several hours before printing.
Step-by-Step: Your First PCTG Print
- Load the filament: Feed PCTG into your extruder, making sure the nozzle is at the right temperature.
- Level your bed: As with all 3D printing, a well-leveled bed is critical. Take your time here.
- Preheat and prep: Set your nozzle and bed to the recommended temperatures. Add a thin layer of glue stick or use a PEI sheet for extra adhesion.
- Start your print: Use a simple calibration object or test print for your first attempt. Watch the first layer closely to ensure it’s sticking properly.
- Monitor progress: Stay close during the first few layers to catch any issues like warping or poor adhesion early.
- Remove and cool: Allow your print to cool slightly before removing it from the bed. If needed, use a spatula with care.
Post-Processing PCTG Prints
PCTG is easy to finish. Remove supports carefully, as the material is tough but can be scratched. If sanding is needed, start with fine-grit sandpaper. For a glossy finish, wet sanding followed by a gentle polish works well. Gluing is possible with cyanoacrylate (super glue), and light polishing can enhance the clarity of transparent parts.
Troubleshooting: Common PCTG Print Issues
- Warping: Check bed temperature and adhesion; try brim or raft settings if needed.
- Stringing: Lower print temperature slightly or increase retraction.
- Layer separation: Reduce cooling fan speed or slightly increase nozzle temperature.
- Poor bed adhesion: Clean build surface, increase bed temperature, or try adhesive aids like glue stick.
Final Tips for PCTG Printing Success
- Print slow and steady—rushing leads to imperfections.
- Store filament dry, always.
- Don’t be afraid to experiment: every printer and environment is a little different.
Conclusion
PCTG filament is an excellent, user-friendly material for those ready to branch out in the world of 3D printing. With its unique blend of toughness, clarity, and easy handling, it’s a logical next step after PLA or PETG. Follow the steps and tips above, and you’ll find your first print with PCTG not just successful, but inspiring—opening the door to a new world of functional, beautiful, and durable 3D-printed creations.