
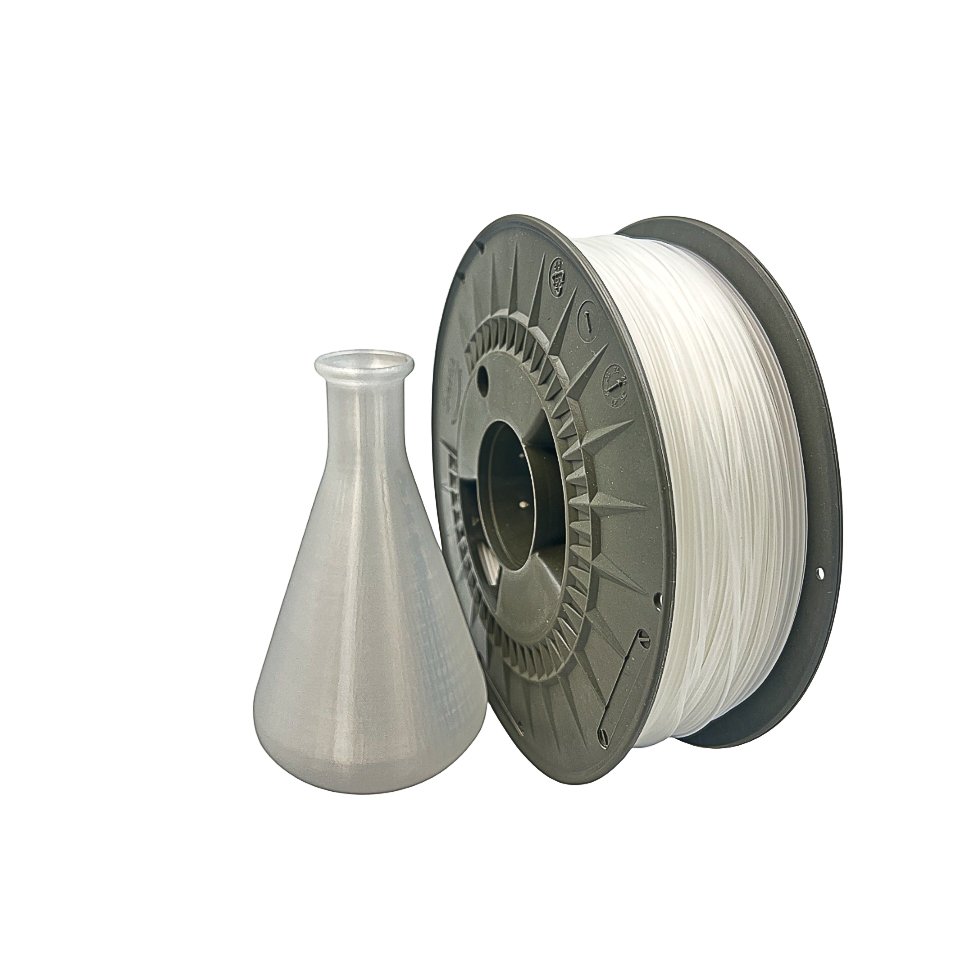
PLA sample packs are the perfect playground for creativity. Whether you’re experimenting with new colors, testing temperature settings, or simply looking for quick 3D printing inspiration, these small spools open a world of possibilities. They allow makers to explore without the commitment of a full spool—ideal for trial runs, practice prints, and vibrant mini projects that bring your ideas to life.
How to Get Started with PLA Sample Pack Projects
Selecting the Right PLA from Your Sample Pack
PLA sample packs usually include multiple colors or finishes, letting you test properties like matte, silk, or transparent styles. Before printing, pick filaments that match your goal—silky PLA for decorative pieces, matte for practical parts, or translucent for lighting projects. Since each filament brand may behave slightly differently, start with test prints such as calibration cubes or small figurines to get a feel for extrusion and layer adhesion.
Printer Setup & Calibration Tips
Mini projects demand precision. Level your print bed carefully and clean the nozzle to avoid clogs that can ruin small details. Since PLA flows best between 190–210°C, start mid-range (around 200°C) and adjust based on layer smoothness and adhesion. Keep your cooling fan at 100% after the first few layers—this helps smaller parts solidify faster, preventing drooping on delicate overhangs.
Slicer Settings & Supporting Strategies
Slicer settings can make or break miniature prints. Use a fine layer height (0.1–0.15 mm) to preserve detail, and consider 100% infill for durability in tiny parts. Avoid unnecessary supports if possible; removing them from small areas can damage the model. Brims work better than rafts for adhesion because they peel off easily while stabilizing the base layer.
10 Creative Mini Projects to Try with PLA Sample Packs
1. Micro Figurines & Desk Toys
Tiny figurines are among the most enjoyable ways to explore your sample colors. Print miniature characters, robots, or animals to see how your PLA behaves with detail and texture. Lower the print speed to 40–50 mm/s for cleaner lines and minimal stringing.
2. Keychains, Charms & Pendants
Keychains are perfect for mixing PLA shades from your sample pack. Add personal initials, company logos, or minimalistic patterns. Using a dual-color print for contrast can turn these into great handmade gifts or branding accessories.
3. Cable Organizers & Desk Clips
Tangled wires are a universal nuisance, and PLA sample leftovers can fix that. Print simple cable clips, spiral wraps, or docking stands to tidy your workspace. Focus on flexibility—print a few variations to test tolerances and strength differences between filament types.
4. Mini Planters & Succulent Pots
Small geometric planters bring color to any desk or shelf. Choose pastel or metallic PLA from your sample pack for visual appeal. Since these prints are often hollow, ensure at least 2–3 perimeters and strong infill to prevent cracking during handling.
5. Phone Stand or Card Holder
A lightweight card or phone holder is a functional way to use leftover PLA. Experiment with angles and supports to create custom-fit stands. Try combining colors for a layered aesthetic—such as printing the base in matte black and the accent edge in metallic silver.
6. Puzzle Pieces & Interlocking Blocks
Print small modular cubes, gears, or puzzle parts to test precision and fit. It’s an excellent calibration exercise for tolerances and retraction settings. Try mixing different PLA finishes to identify which ones yield smoother edges or tighter fits.
7. Coasters, Mini Trivets & Tiles
These flat, decorative items let you test layer adhesion and texture consistency. Print them using spiralized (vase) mode for ultra-smooth surfaces. Combine silk and matte filaments from your sample pack for visually striking contrasts.
8. Gears, Cams & Simple Mechanisms
Mechanical parts like gears, joints, or levers test how your PLA handles friction and precision. Use low print speeds and adjust wall thickness for better durability. Mixing multiple colors from your sample pack also makes it easy to visualize component separation.
9. LED Light Diffusers & Lamp Covers
Translucent or pastel PLA from your sample pack works beautifully for light diffusion. Print small shades or light covers and observe how different thicknesses affect glow. Always keep infill low (around 15%) to enhance transparency and brightness.
10. Miniature Camera or Model Accessories
From mini tripods to tiny furniture for scale models, PLA samples are great for detail-driven prints. Experiment with different colors to create realistic props for dioramas, photography sets, or collectible figures.
Post-Processing & Finishing Techniques
Sanding, Polishing & Surface Smoothing
Even mini prints benefit from finishing. Start with 220-grit sandpaper, move to 600-grit for fine polishing, and finish with a light buffing compound. For glossy PLA types, avoid excessive friction—it can dull the surface.
Painting, Dyeing & Color Enhancements
If your sample color doesn’t fit your final vision, paint it! Acrylic paints or alcohol-based markers adhere well to PLA. Apply thin primer layers for better coverage, and seal with a matte or glossy spray coat to preserve detail.
Assembly, Gluing & Bonding Parts
When combining multiple small prints, use cyanoacrylate (super glue) for quick bonding. For larger assemblies, try epoxy or PLA welding by lightly heating the edges before joining them together.
Troubleshooting Common Issues in Mini Prints
Warping, Lifting & Edge Curling
Keep your bed temperature consistent (50–60°C) and use brims for additional grip. A light glue stick coating also helps adhesion.
Stringing, Blobs & Oozing
Reduce printing temperature by 5–10°C and increase retraction speed. Small nozzles (0.2–0.3 mm) yield cleaner micro prints.
Poor Overhangs & Bridging Failures
Use supports sparingly and increase cooling airflow. Adjust the fan duct to target tricky overhangs directly.
Dimensional Inaccuracy & Fit Problems
Calibrate the extruder steps/mm and flow rate regularly. Test with small cubes or calibration keys before major prints.
Tips for Making the Most of Your Sample Pack
Organize filaments by type, color, and brand, labeling spools to track performance. Save leftover PLA snippets for dual-color or mosaic prints. If you sell 3D models or prototypes, mini projects make affordable portfolio items to showcase material diversity and finish quality.
Conclusion
PLA sample packs aren’t just for testing—they’re for creating. From mini planters to desk gadgets and decorative trinkets, every gram of filament holds the potential for creativity. Experiment with different textures, master your slicer settings, and discover which filaments bring your designs to life. The beauty of 3D printing lies in endless exploration, and your next favorite project might just start with a simple sample pack.